
This month, we will go over how to install an SCI Smart Pad Generation 5 Kit for Peterbilt owners with a digital dash. Bryan “Bossman” Martin is here to share his words of wisdom and advice about how (and why) you should buy an SCI Smart Pad Generation 5 Kit so that you can install a cool, custom 4-spoke steering wheel on your truck and throw that factory steering wheel in the trash.
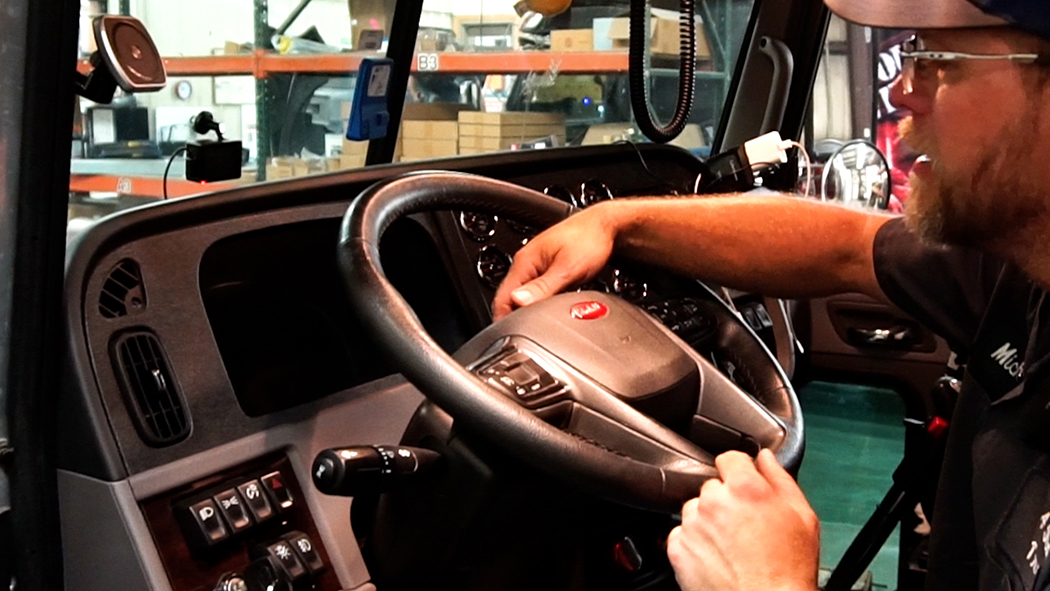
BEFORE:
Before removing the factory steering wheel, make sure your semi is parked straight and that the steering wheel is properly aligned. This will ensure that your steering wheel is centered properly at the end of this installation.
STEP 1:
Start by gently pulling the horn button from the bottom to remove it. Once it is free, disconnect the two wire terminals from the back.
STEP 2:
Remove the plastic trim with the switches from the steering wheel and unplug the connector.
STEP 3:
The switches are secured by (4) T10 Torx screws on the back. Remove the screws and gently pry to detach the wire harness and clips.

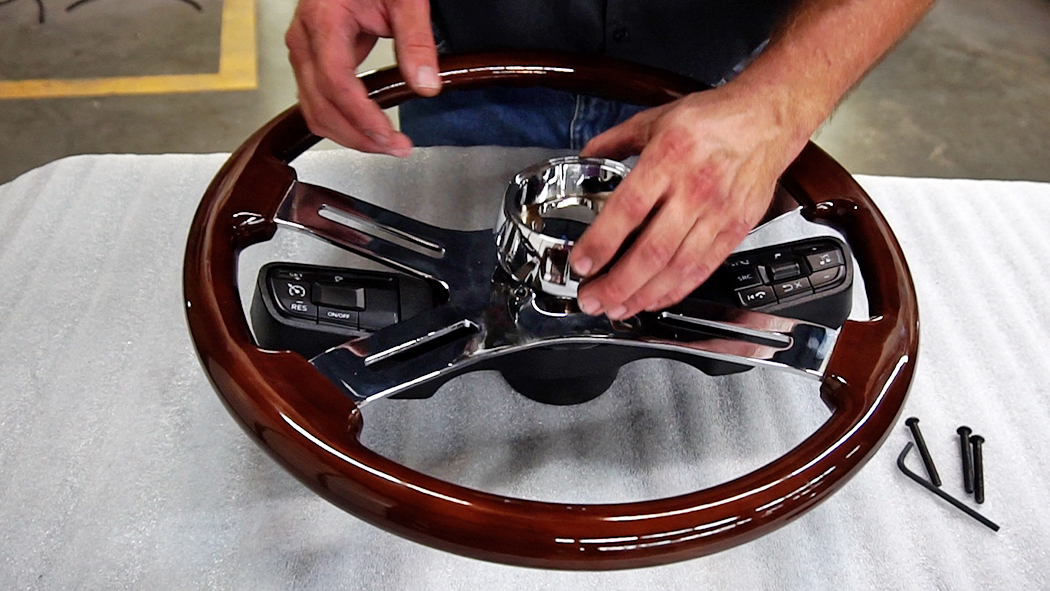
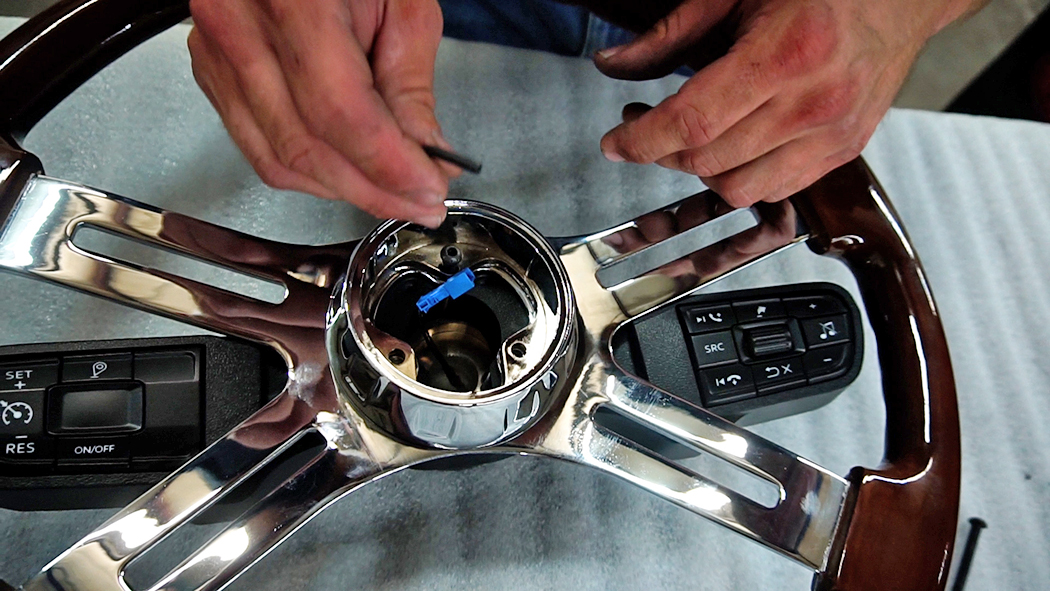
STEP 4:
Insert the switches into the switch pad as they will be in the truck and secure them with the two screws provided (4A). Then, snap the back cover into place and attach it using the (4) screws included (4B). Note: Do not discard the box before removing the screws taped inside.

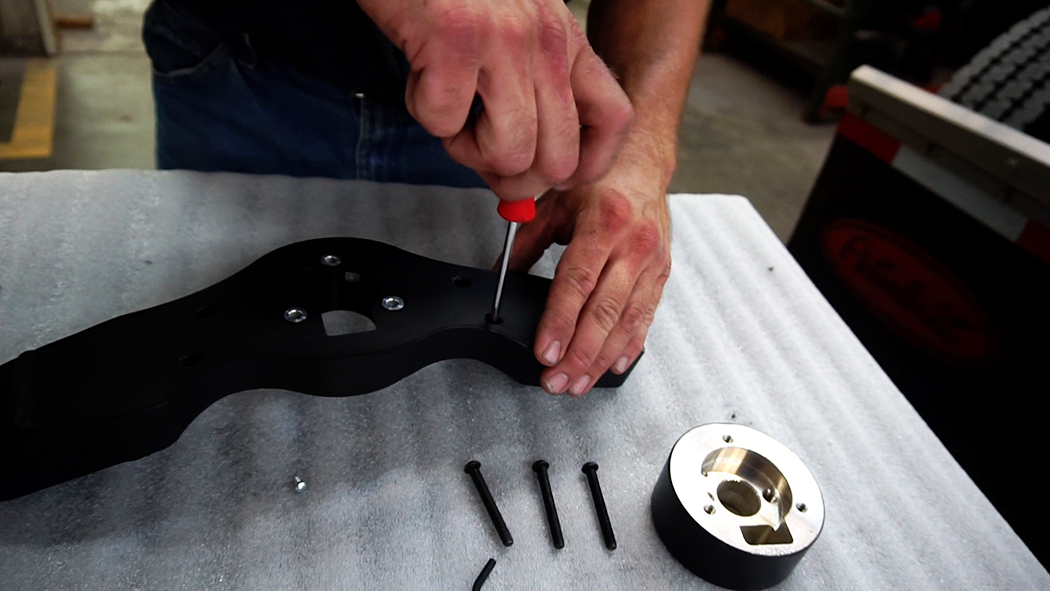
STEP 5:
Place the three-bolt hub on a flat surface, then add the switch adapter assembly, followed by the steering wheel, and finally the horn button housing on top.
STEP 6:
Insert the (3) hex head screws into the complete assembly and hand tighten each screw firmly. DO NOT use an impact tool when tightening down the screws.
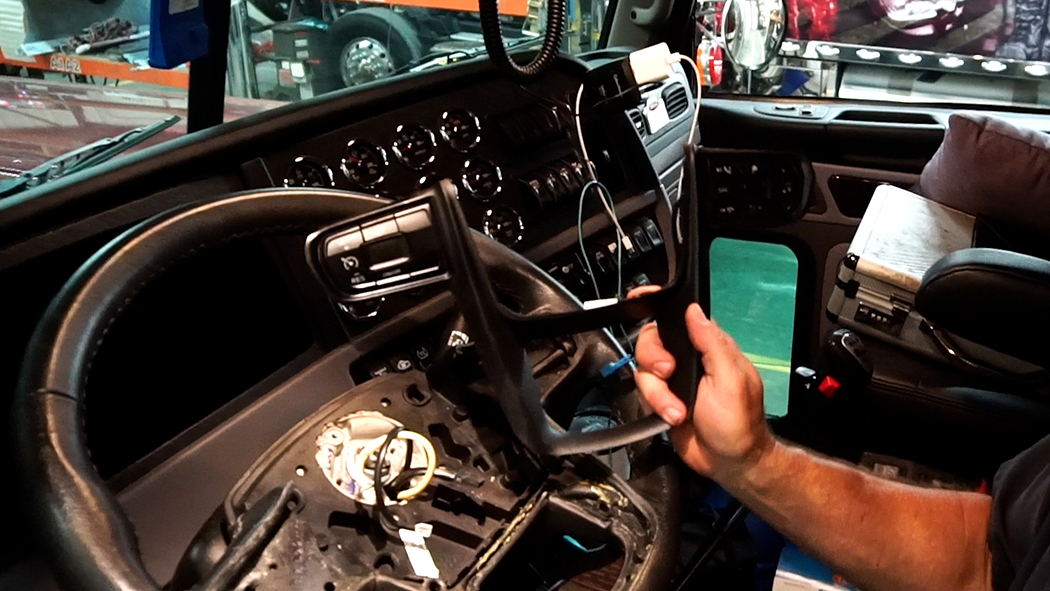
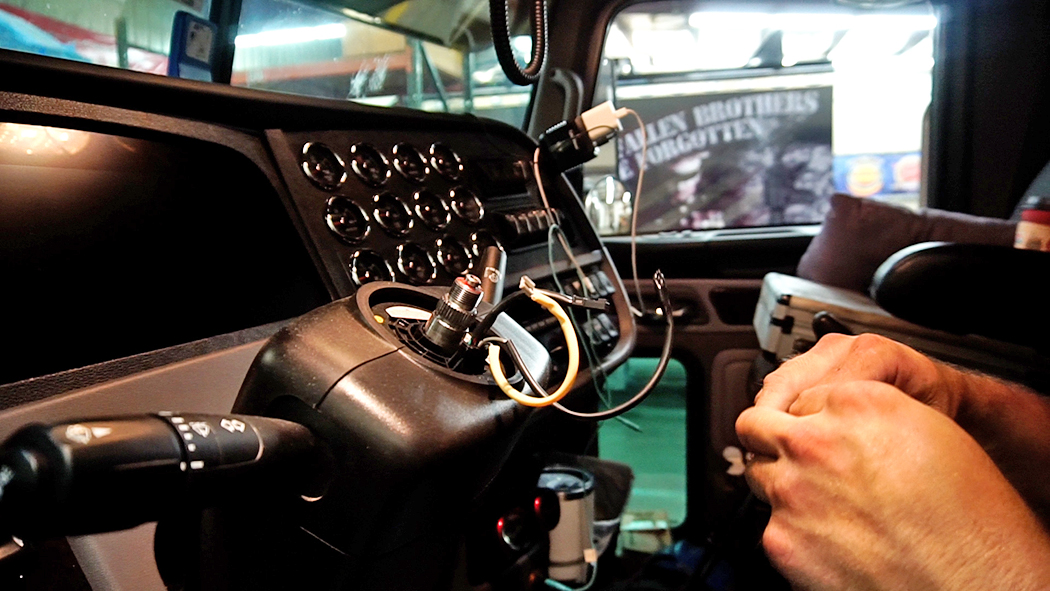
STEP 7:
Use a ratchet and socket to remove the factory steering wheel nut from the drive shaft – do not use an impact tool. Then, use a steering wheel puller to detach the steering wheel, as it cannot be removed by hand.

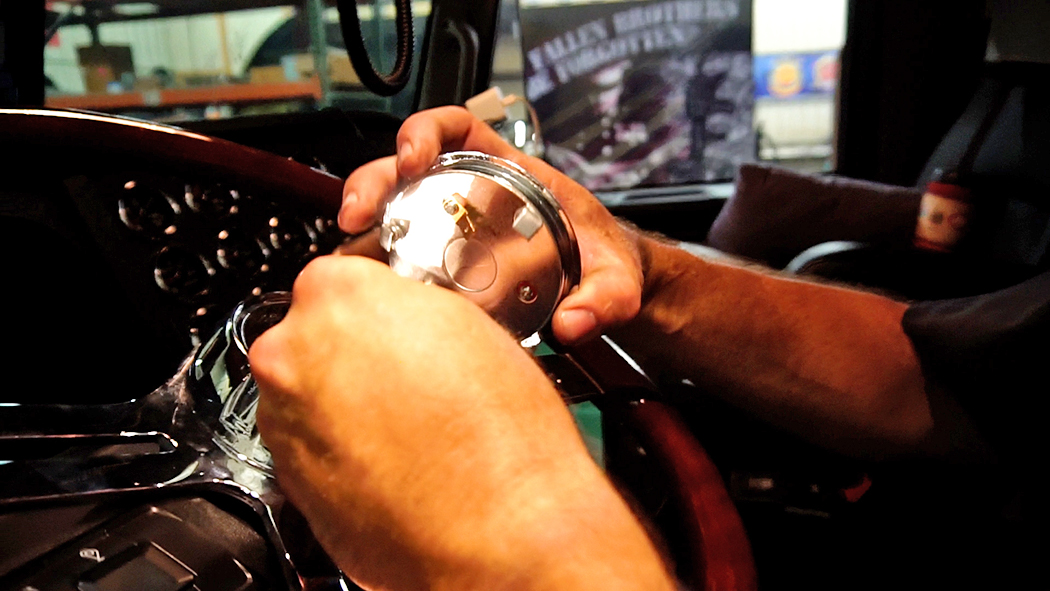
STEP 8:
You will see two wires – a ground wire and a positive wire. The new hub only requires the positive wire for the horn. Wrap the ground wire in electrical tape to avoid issues, as the aftermarket wheel grounds through the wheel and shaft.
STEP 9:
To install the new wheel assembly, feed the wires through the bottom hole and align it with the drive shaft. Firmly press down and retighten the steering wheel to O.E. factory specs, using a ratchet and socket – do not use an impact wrench.

STEP 10:
Reconnect the switch harness to the pigtail and tuck it into the assembly. Also, tuck in the taped ground wire. Attach the positive wire to the horn button and secure the horn button to the assembly.
FINISH:
Test the horn to ensure it works, then start the truck and check the switch functions. Finally, enjoy your stylish aftermarket steering wheel!
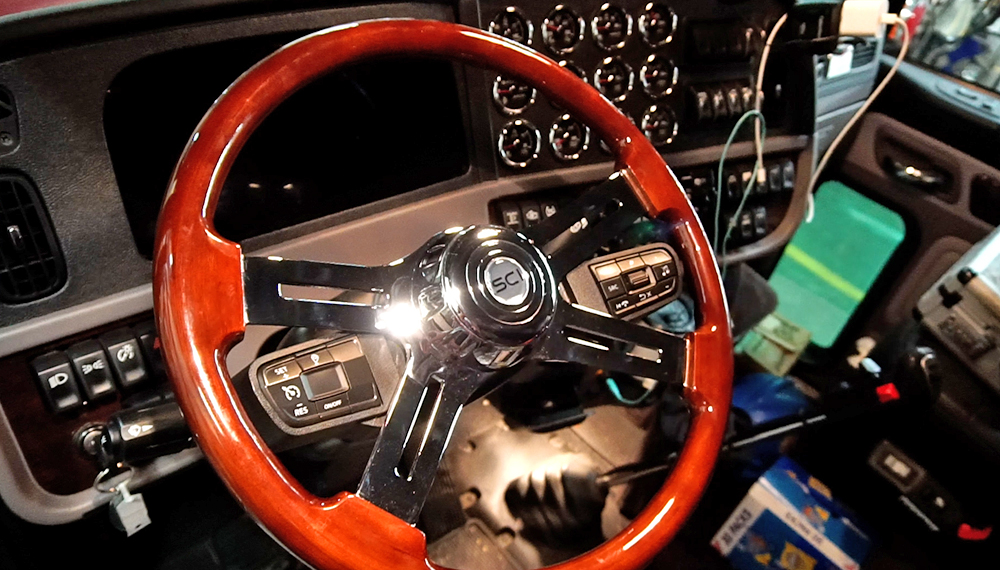
The product being installed here is 29-15000010. Compatible with any 3-bolt hub / 3-bolt aftermarket steering wheel. Check out more steering wheels for your big rig at www.4statetrucks.com – “Home of The Chrome Shop Mafia”