
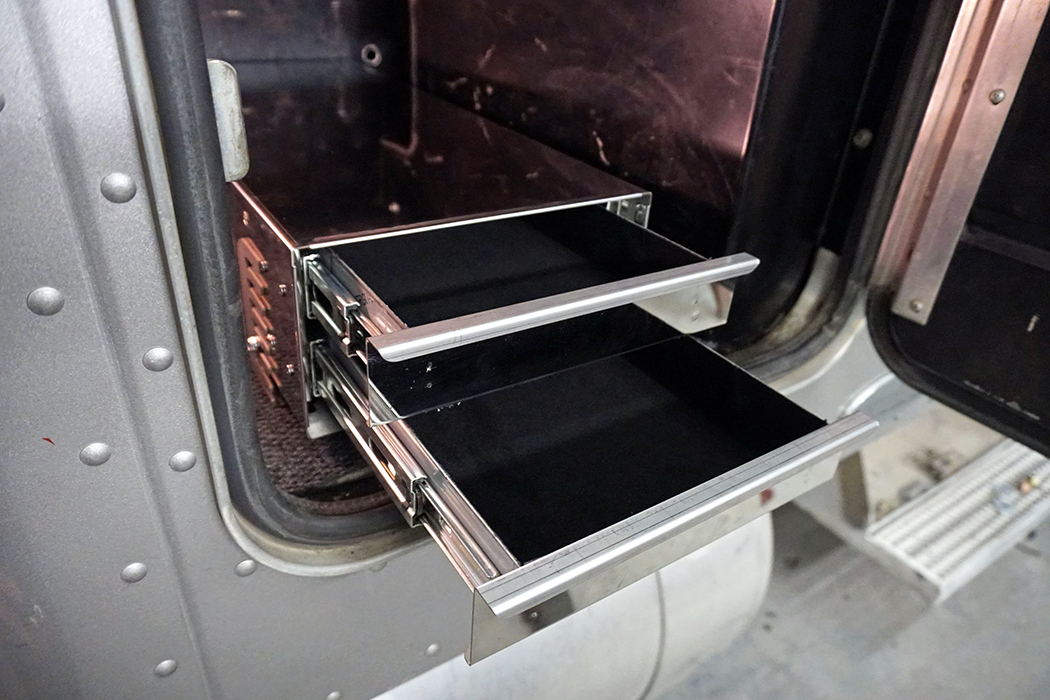
Any driver would agree – you simply can’t get enough storage in today’s trucks. The Kubby Buddy compact toolbox is the perfect fix for those smaller items that tend to make it “all the way to the bottom” of your traditional toolbox. For items such as brass fittings, wire ends, small hand tools, electrical tape, zip ties, and more, the Kubby Buddy’s high-quality construction and smooth action drawers are built to last. They are great for any vehicle, and at only 11” wide by 24.25” deep and 5.5” tall, they are suitable for your shop, UTV, farm tractor, service truck, or any other situation where you are looking for enhanced organization. We also should mention that, with just a small amount of measuring and drilling, the Kubby Buddy is stackable, if you desire more storage.
STEP 1

Using masking tape, apply a layer along the truck floor where the toolbox will be installed. The masking tape will be used as a surface to mark on and allow us to see our hole marks on top of the dark carpet.
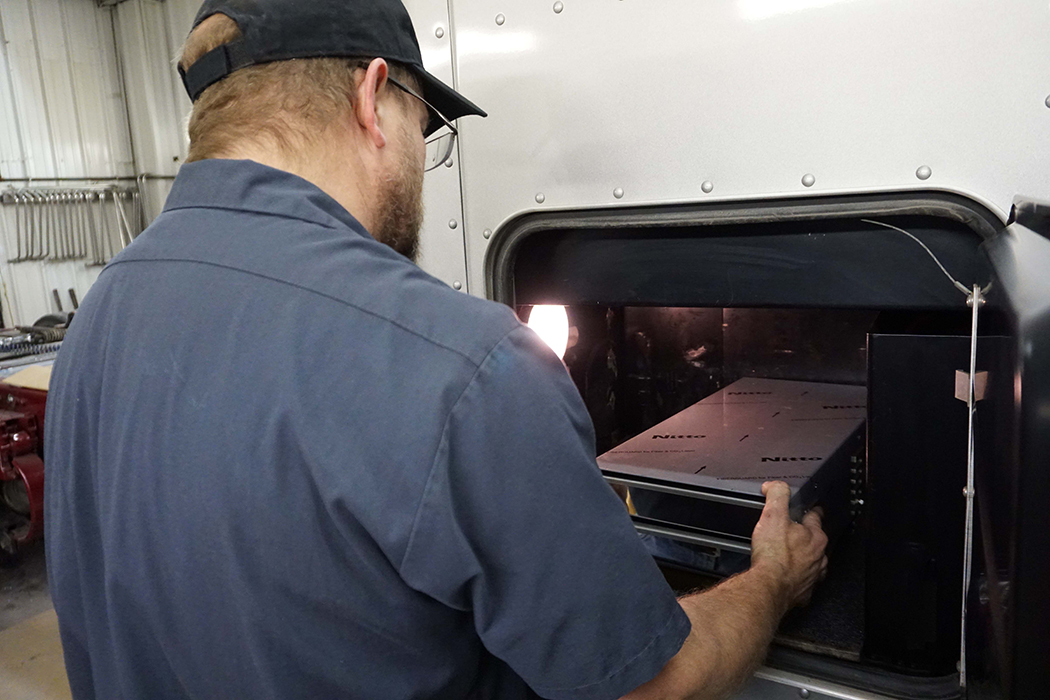
STEP 2
With the toolbox and mounting bracket temporarily mounted together, place the toolbox into the truck on top of the layer of masking tape and determine a suitable location for the toolbox.
STEP 3
The ideal location will allow the sliding drawers to open fully, clear of any access points on the truck, and still allow enough room along the sides of the toolbox to bolt the toolbox and mounting bracket together.
STEP 4
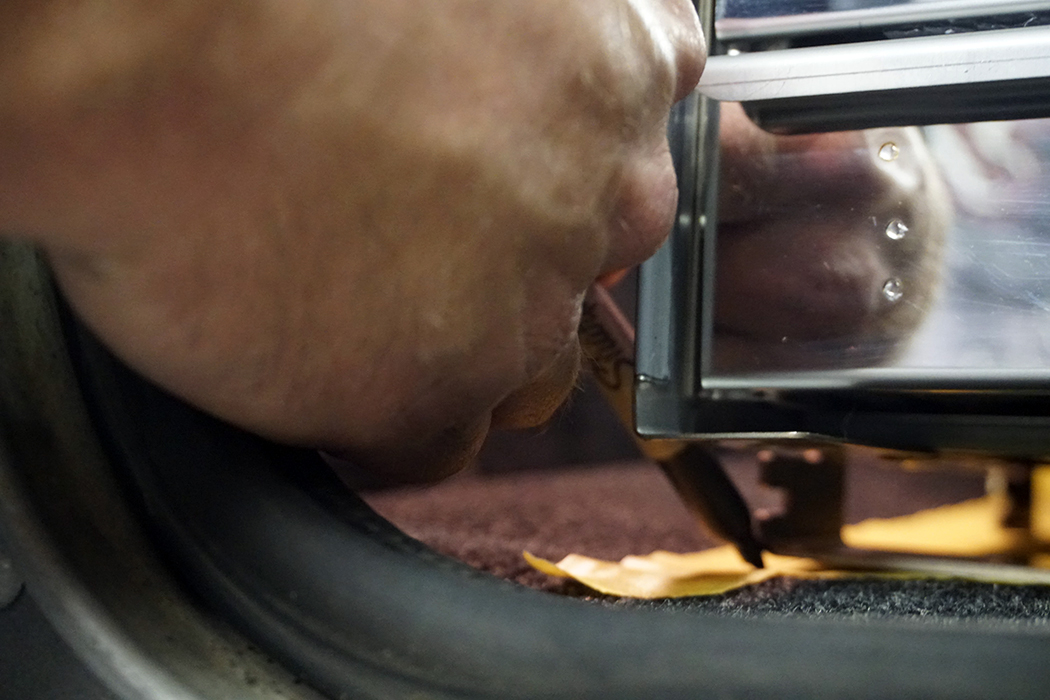
Once satisfied with the toolbox location, trace around the toolbox and mounting bracket onto the masking tape. Remove the toolbox and bracket from the truck, and then disassemble the toolbox and mounting bracket from each other. With just the mounting bracket, place within the traced lines and mark all the mounting holes. Note: Not all marked mounting holes will be drilled, but before drilling through the floor, always check under the truck for any utilities or clearance issues to determine where to drill the holes.
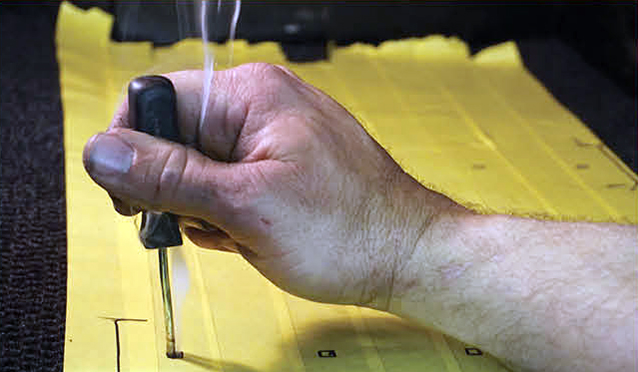
TECH TIP
Apply heat to a small punch or pick to get it red hot, and then push it through your marked holes. This will prevent carpet threads from being pulled by a drill bit when drilling holes through carpet.

STEP 5
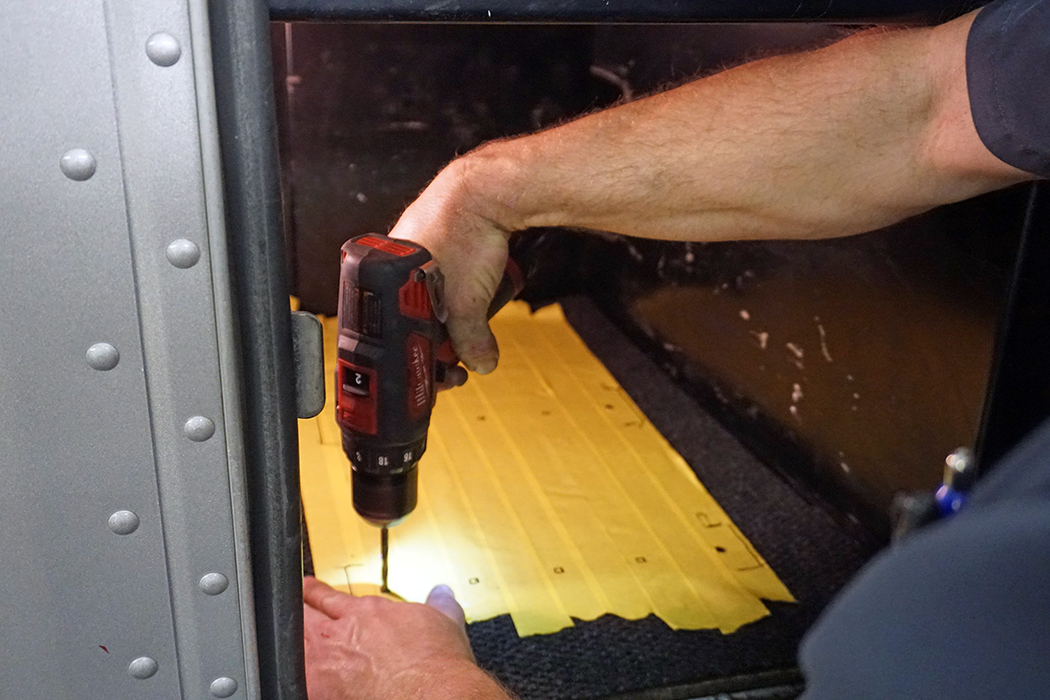
Once the holes are marked and no issues can be seen underneath the truck, drill out 4 holes – 2 towards the front and 2 towards the rear of the bracket.
STEP 6
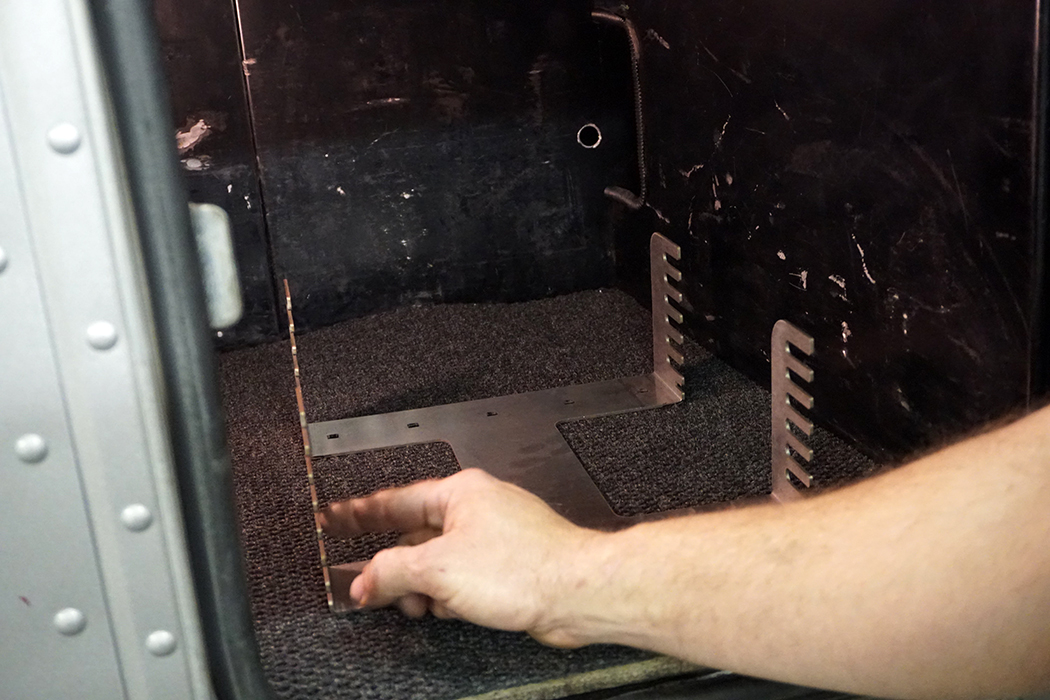
After all 4 of the holes have been drilled out, remove the masking tape from the truck floor and set the mounting bracket back into place.
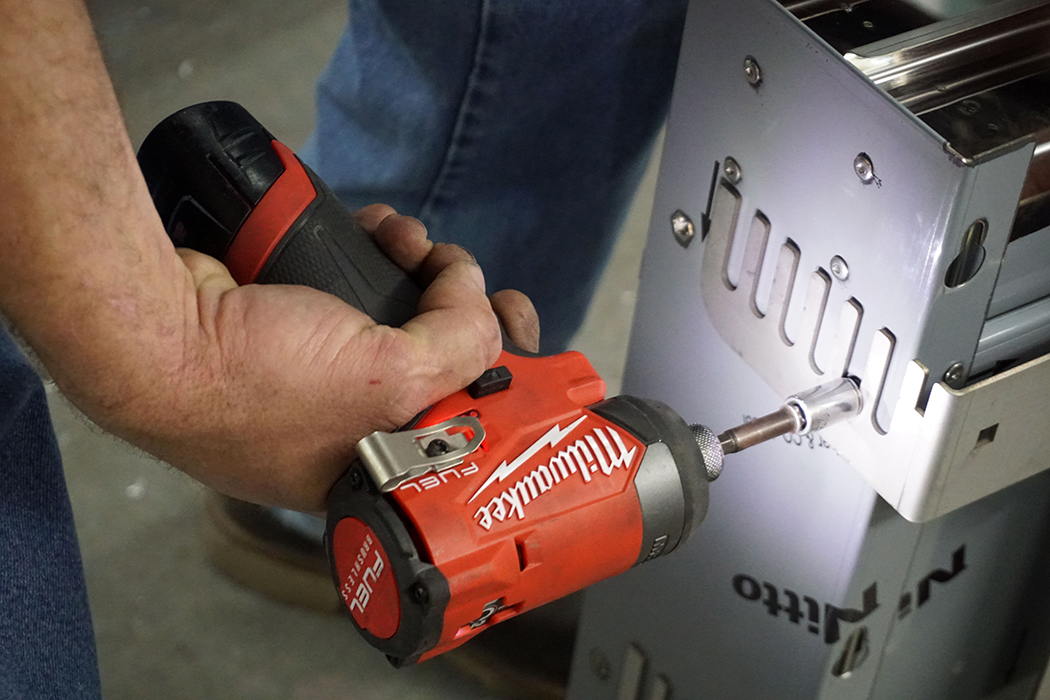
STEP 7
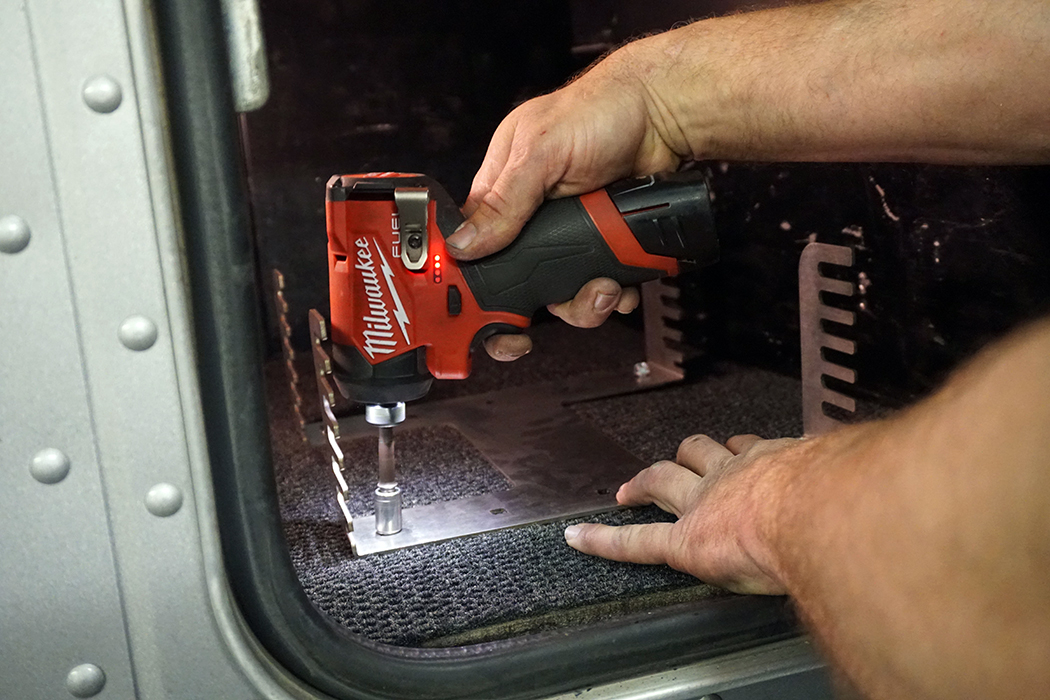
Align the 4 drill holes with the holes on the base of the mounting bracket, take self-tapping screws (not provided) and mount the mounting bracket into position one final time.
STEP 8
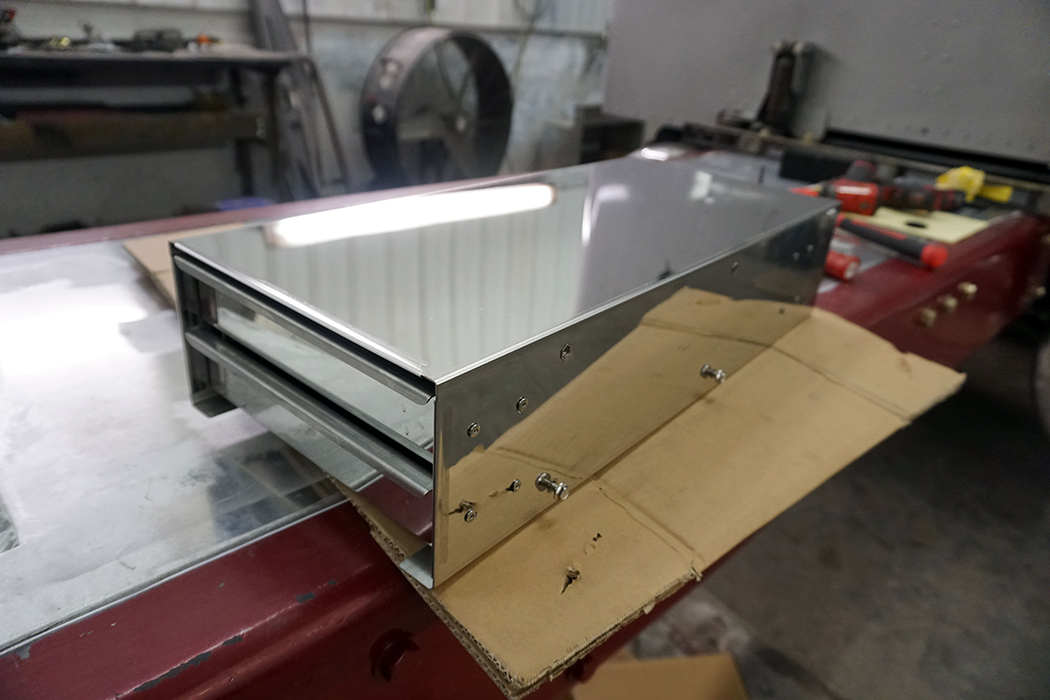
Take the toolbox, peel off all the protective film from the entire toolbox, and loosely install the bolts into the side of the box.
STEP 9
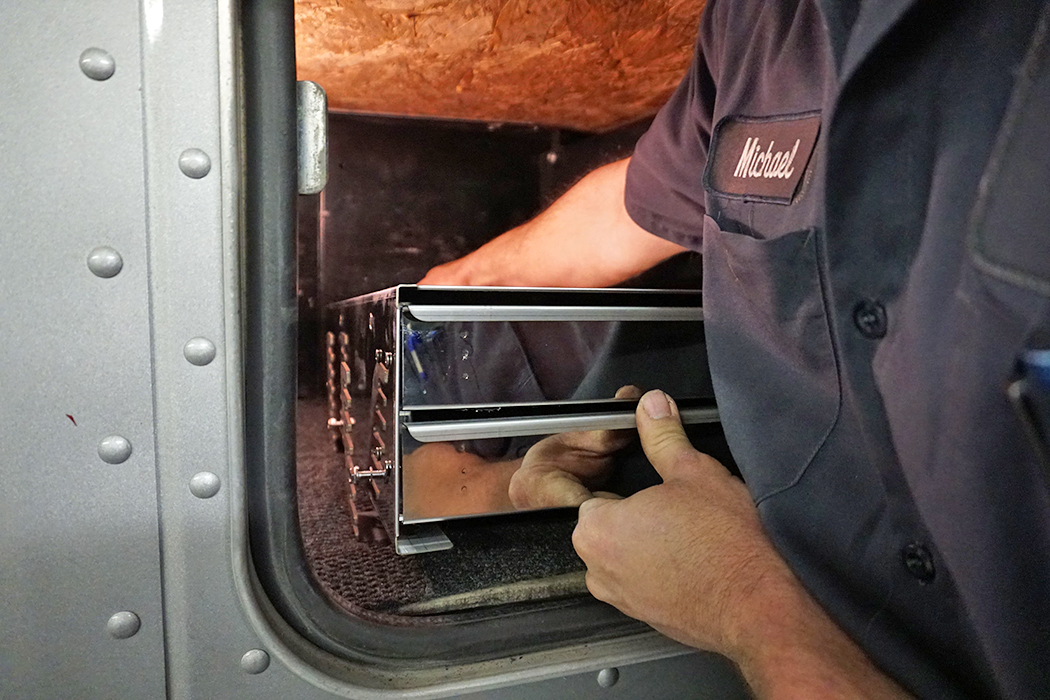
Carefully slide the toolbox back onto the mounting bracket at the desired slot height. Make sure that the box is pushed onto the mounting bracket completely before tightening any bolts.
STEP 10
Finally, with a hand ratchet, tighten the toolbox and mounting bracket together with bolts.
* The product being installed here is #09-1530064. Check out more toolboxes for your big rig at www.4statetrucks.com – Home of the Chrome Shop Mafia!