
How nice would it be to operate a microwave, household light, TV, and other handy AC devices in the cab of your truck? With a quality 2500-3500-Watt power inverter, you can do just that! A power inverter converts 12 Volt power to a 110 Volt AC power, like what is in your home or shop. Installation is pretty straight-forward and can be done with fairly basic tools. However, there are 2 very important things. #1: Use heavy gauge wire to power the inverter. Read the requirements listed on your inverter instructions, and DO NOT skimp! #2: Absolutely DO NOT wire directly to your truck battery. Be sure to incorporate a Fuse or Circuit Breaker. Follow these easy steps below and enjoy the amenities that 110 Volt power offers!
STEP 1
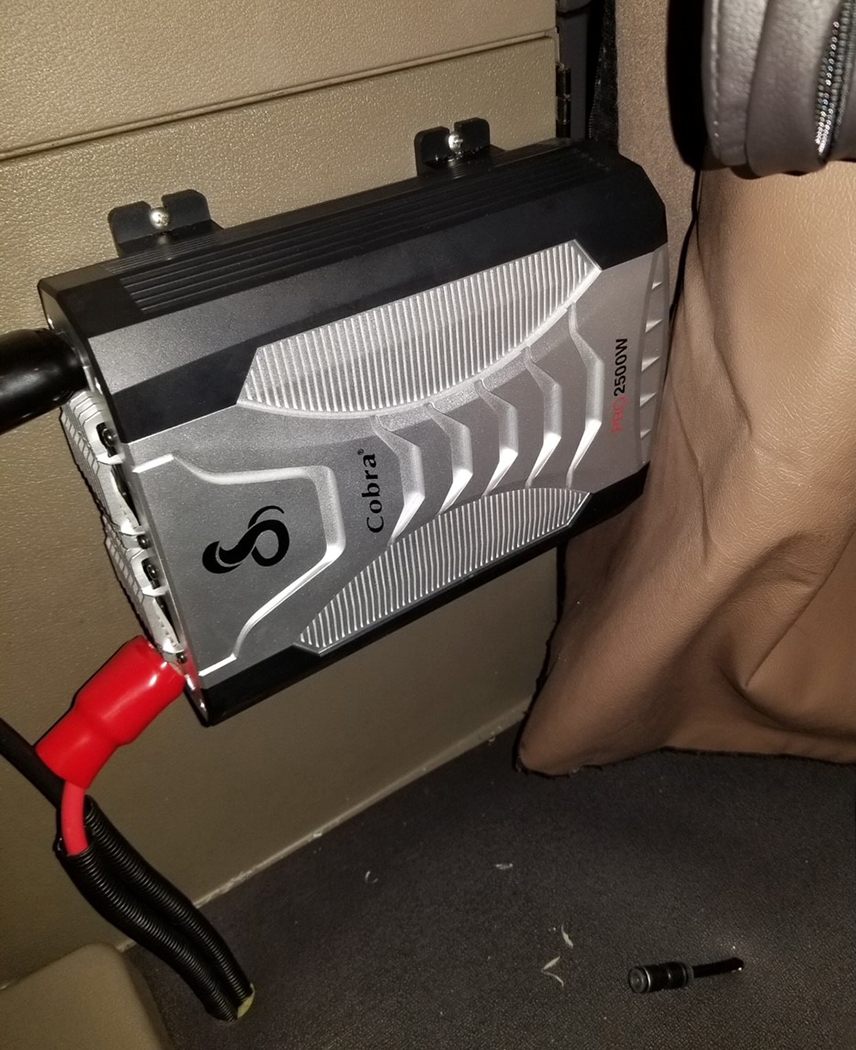
Start by finding an ideal location where you want to install the Cobra Power Inverter. Once the ideal location has been found, make a mark for each of the mounting holes, drill out the holes, and then mount your power inverter.
STEP 2
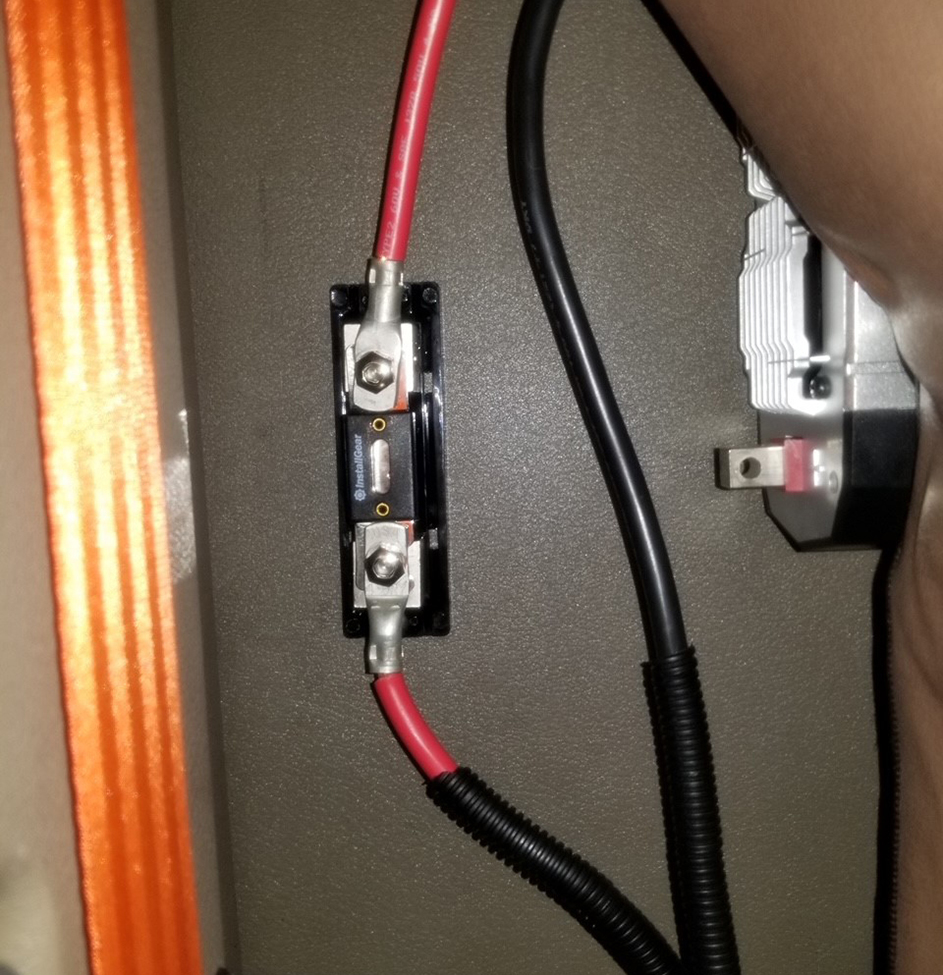
Within the power inverter installation kit, locate the 12” RED power cable and attach one end to the power inverter and the other end to the fuse block. Once attached to the fuse block, securely mount the fuse block to either the wall or to the floor.
STEP 3
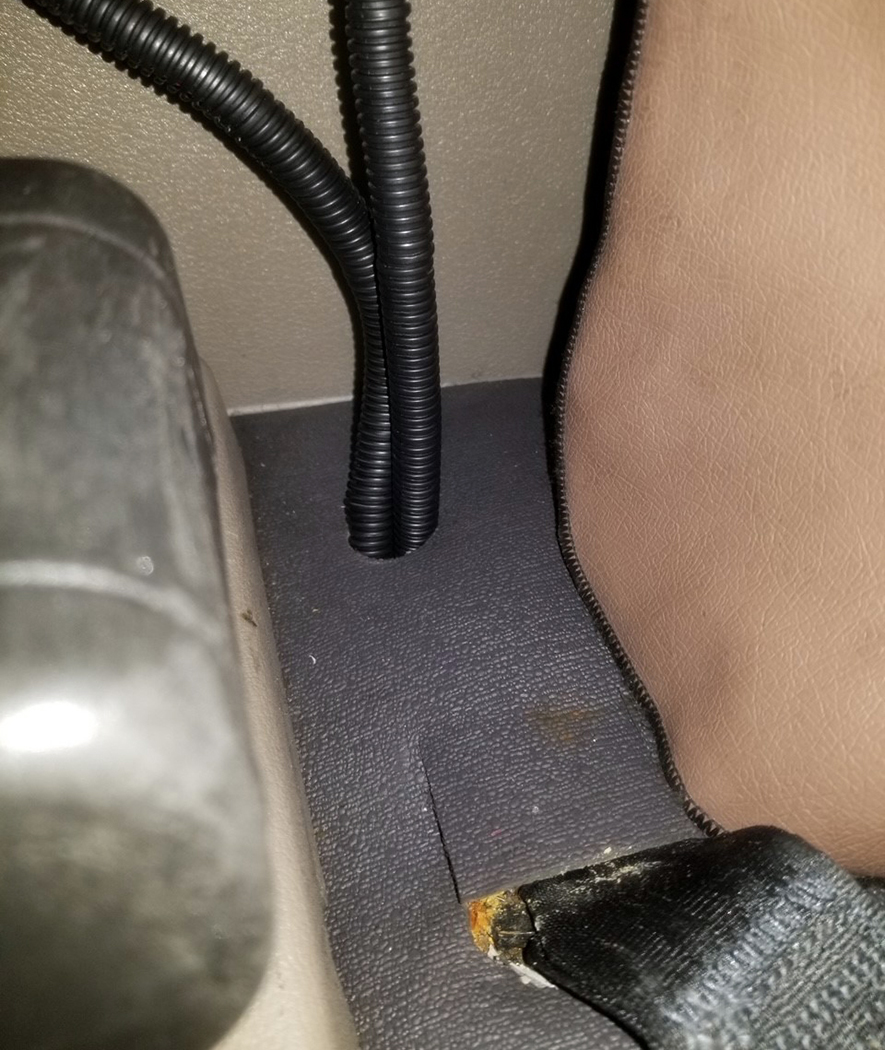
Locate the 12’ BLACK ground cable and attach it to the power inverter, then locate the 11’ RED power cable and attach it to the other end of the fuse block. A hole will need to be drilled into the floor to be able to route these cables to the battery. Note: Be sure to insulate the cables with loom covers and that each cable is properly secured.
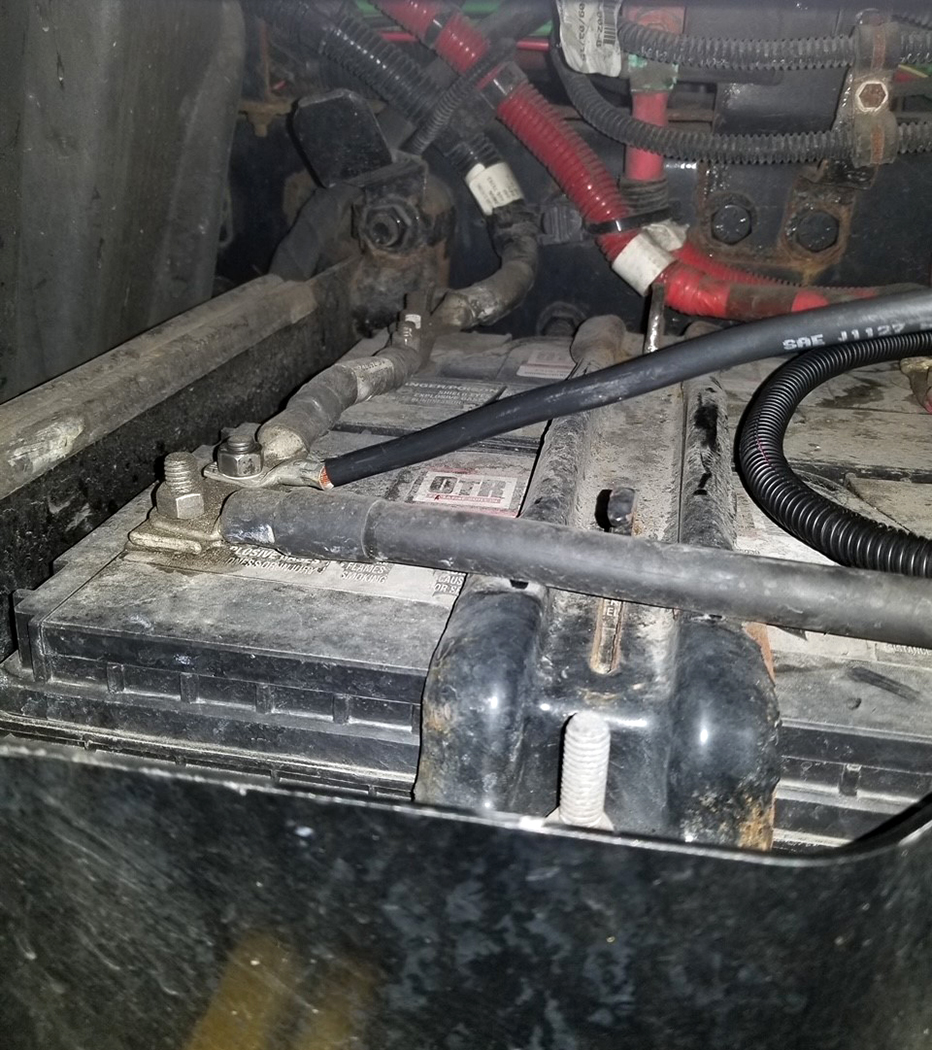
STEP 4
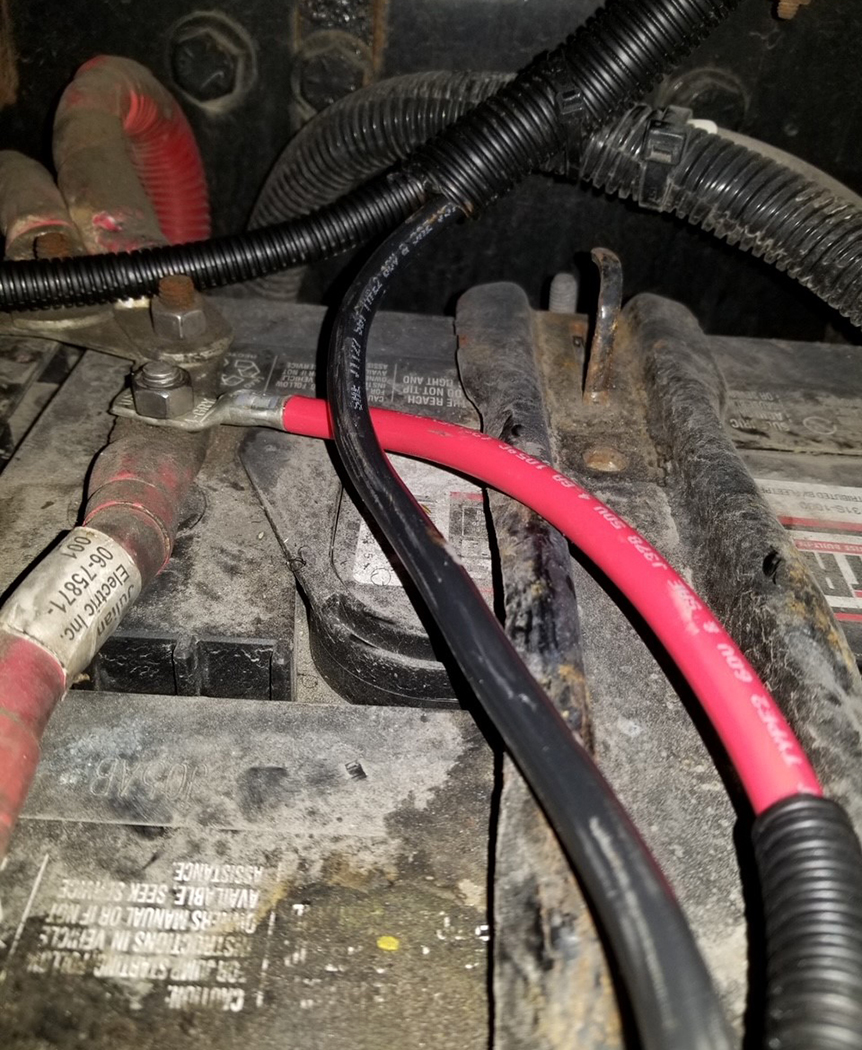
Once both cables have been routed through the floor, simply attach the RED power cable to positive post of the battery and tighten down the nut. Repeat process with the BLACK ground cable, attaching it to the negative post of the battery, and tighten down the nut.
FINISH
Be sure all connections are properly secure and insulated and then you are ready to test out your Cobra Power Inverter. Simply turn on the power inverter and plug in an appliance or device and see if what you plugged in starts to show that it is receiving electricity.
Check out more power inverters for your big rig at www.4statetrucks.com…
Home of the Chrome Shop Mafia!