
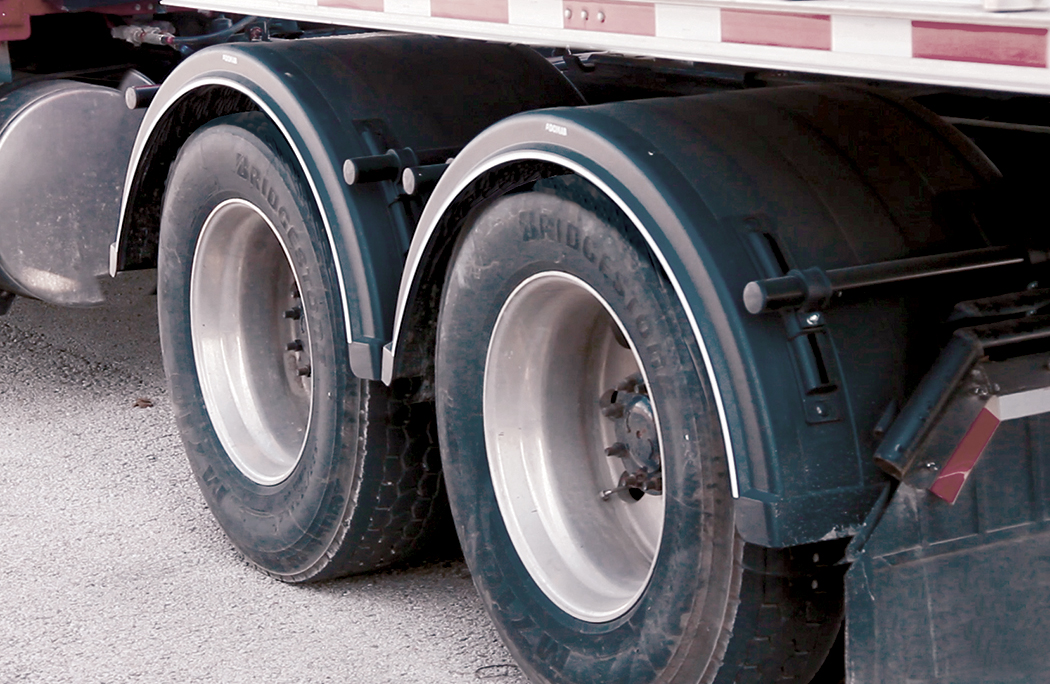
“Sometimes, due to the nature of your haul or budgeting concerns, you may not want to do stainless or painted fiberglass rear fenders. That is a prime opportunity for these Domar fenders. At only $89.00 each, they are not only a great value, but they are rugged, durable and come in several colors other than black, too!” Bryan Martin / 4 State Trucks
GETTING STARTED
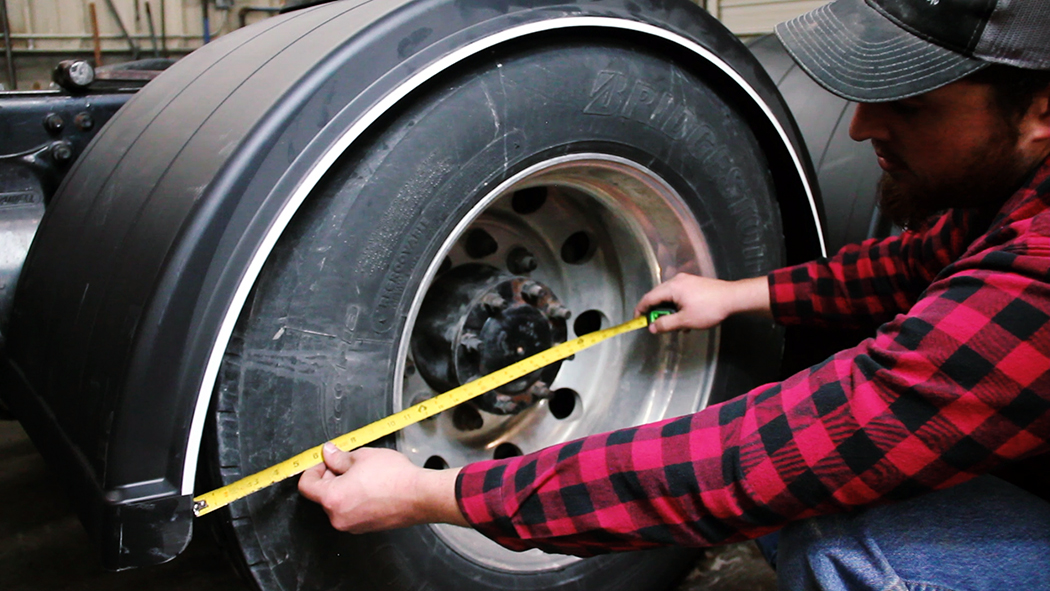
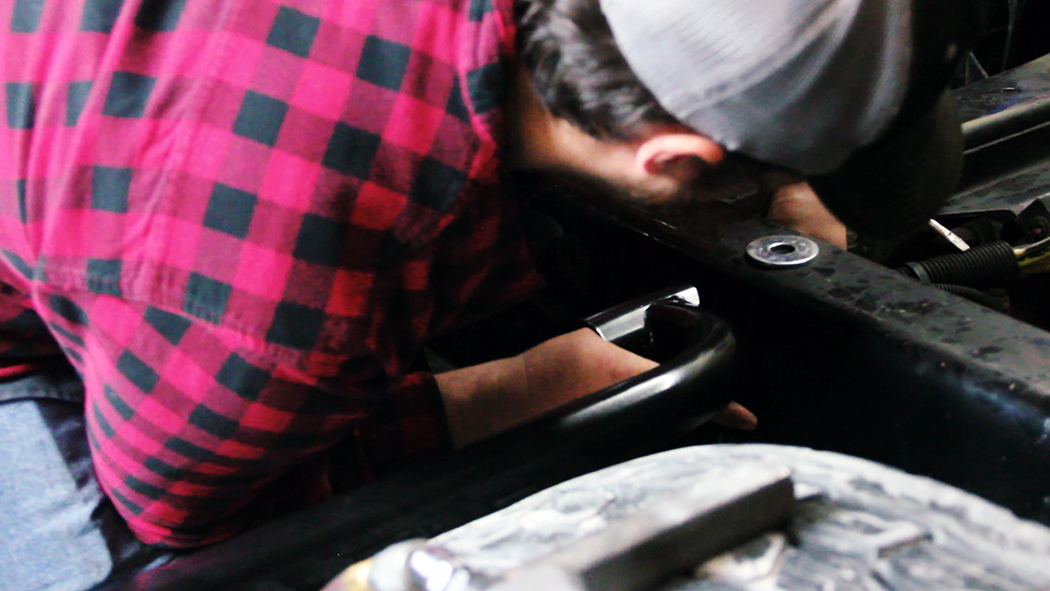
Check clearance between top of tires and top of 5th wheel. With suspension deflated (or wheel travel accounted for on leaf spring suspensions) there should be at least 5” of clearance; 4” between top of mounted fender and top of 5th wheel, and 1” of tire clearance with suspension travel accounted for. Suspension stops or taller 5th wheel risers may be necessary.
STEP 1
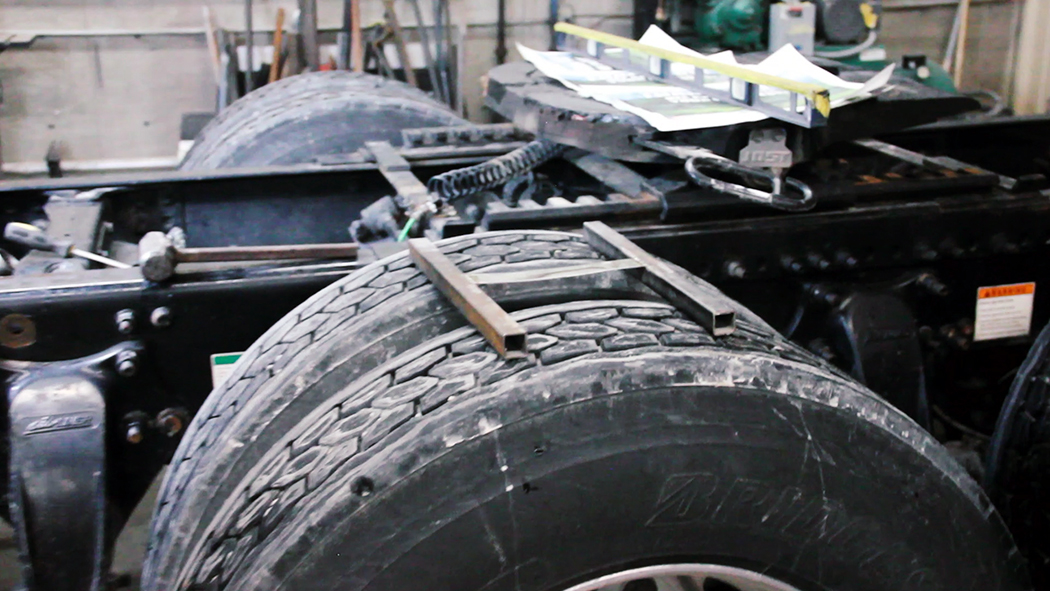
With suspension deflated, set a spacer on top of each pair of tires (1” preferred).
STEP 2
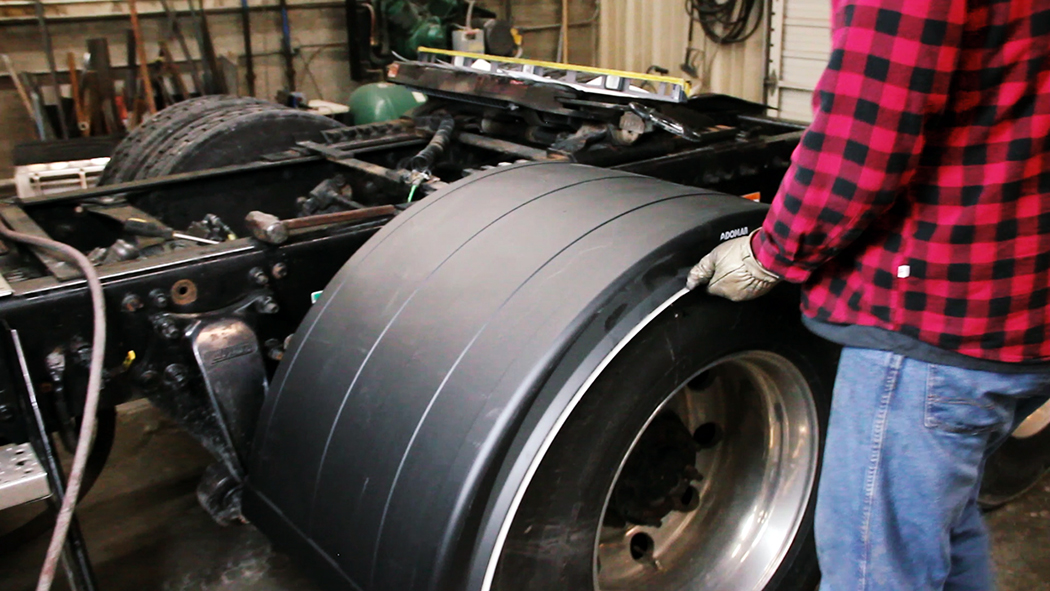
Set a fender on each pair of tires, on top of the spacers. At this point, make a label on each fender designating it position (RF, LF, etc. as well as front or rear). This will keep confusion minimal when reinstalling each fender.
STEP 3
Position each fender, relatively centered and even, over each wheel. There will likely be small differences, given that these fenders are flexible. This can be worked around later during installation.
STEP 4
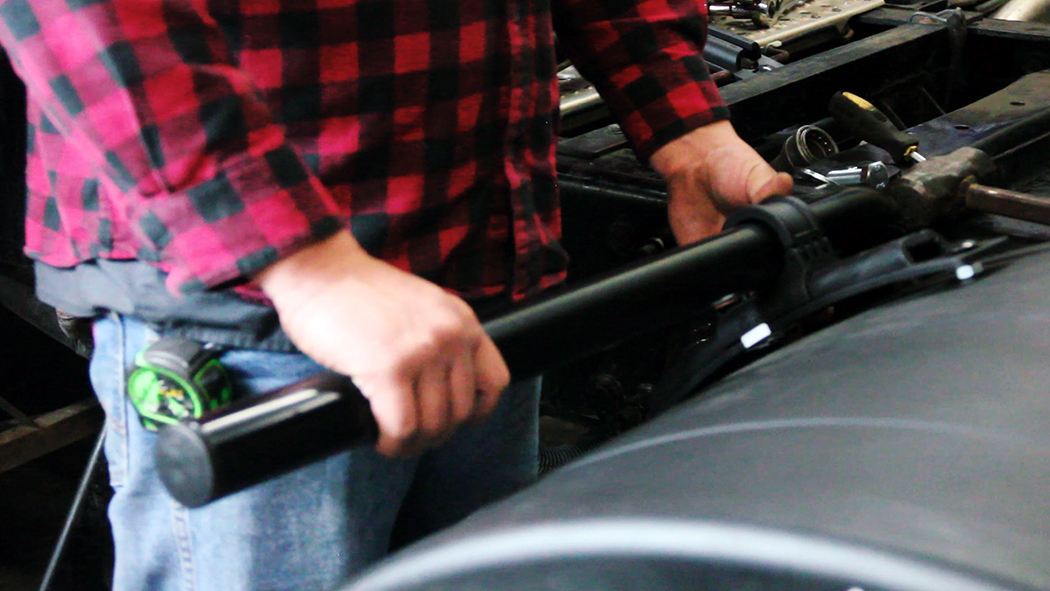
Determine the mounting option (straight or offset tubes) that fits the frame holes or works best around obstacles – offset tubes work best for this. Attach the (2) plastic mounting brackets to the tubes with each adjustable bracket set centered. Position brackets loosely on tube to fit the corrugations of the fender, as far to the inside and outside as can be mounted.
STEP 5
Using existing holes, if possible, insert a 5/8” bolt through hole in the end of the tube (on offset tubes) and through the frame. Install a flat washer and lock nut on the bolt. Straight tubes have a threaded insert welded in the end and a bolt would be inserted from inside the frame into the tube.
STEP 6
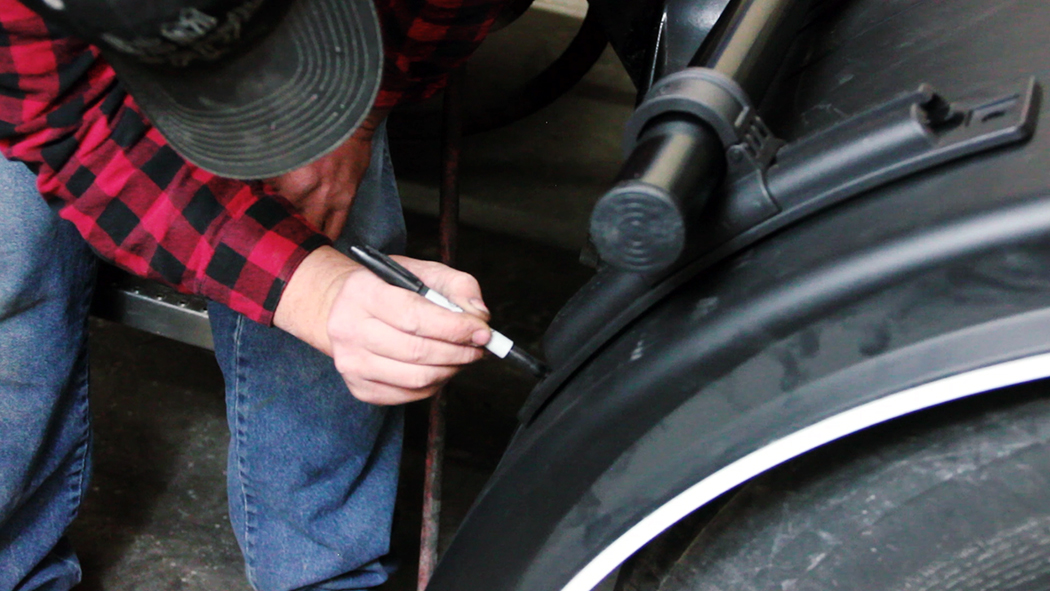
With fenders on the spacers and tires, position the tubes and brackets over the fenders (mounting as low as possible). Mark the bracket mounting holes on to the fenders. Repeat for all fenders.
STEP 7
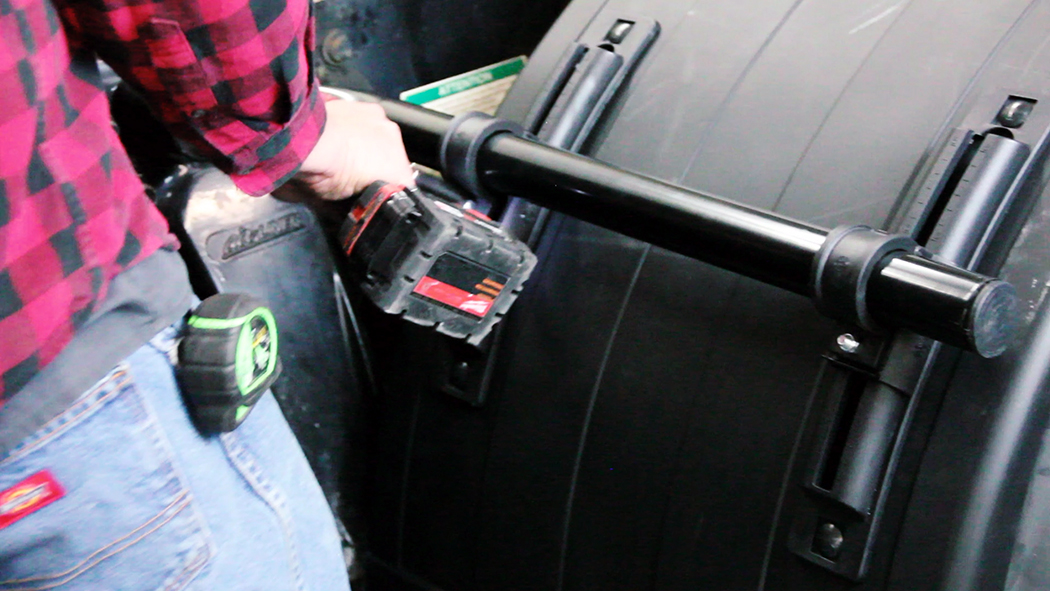
Remove fenders from tires and drill a 3/16” pilot hole, ultimately drilling to 7/16”. Then bolt the brackets to the fenders with the supplied 3/8” carriage bolts.

STEP 8
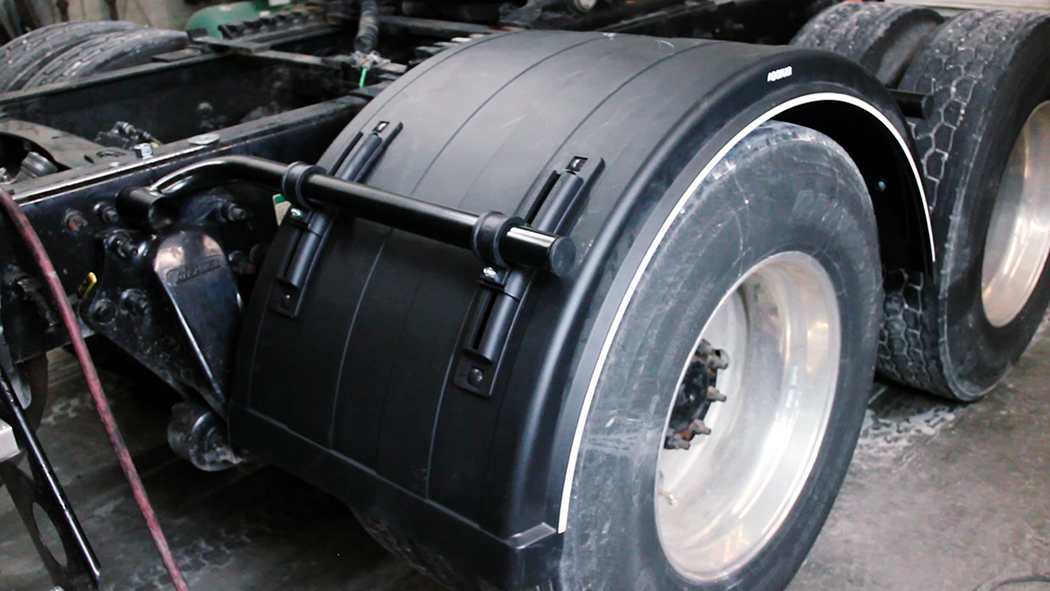
With brackets loosely attached to fenders and tubes, position the offset tubes (if offset were used) to the best position to locate fenders centered and level over tires. Check clearances. Raise suspension and tighten all bolts.
STEP 9
Here is an example of an offset tube, used on the front of rear drive fenders.
FINISH
This should cover a basic install, aside from any 5th wheel riser or suspension modifications that may be required on some trucks.
Check out more fenders (and a lot of other cool stuff) for your big rig at www.4statetrucks.com – home of the Chrome Shop Mafia!