
Tired of the same old original equipment cab lights like every other truck has? Here is a quick and easy ‘How-To’ on changing from the original plastic lenses and dim incandescent bulbs to the classic watermelon glass lenses and high-output 1156 LED bulbs!
1. LET’S GET STARTED
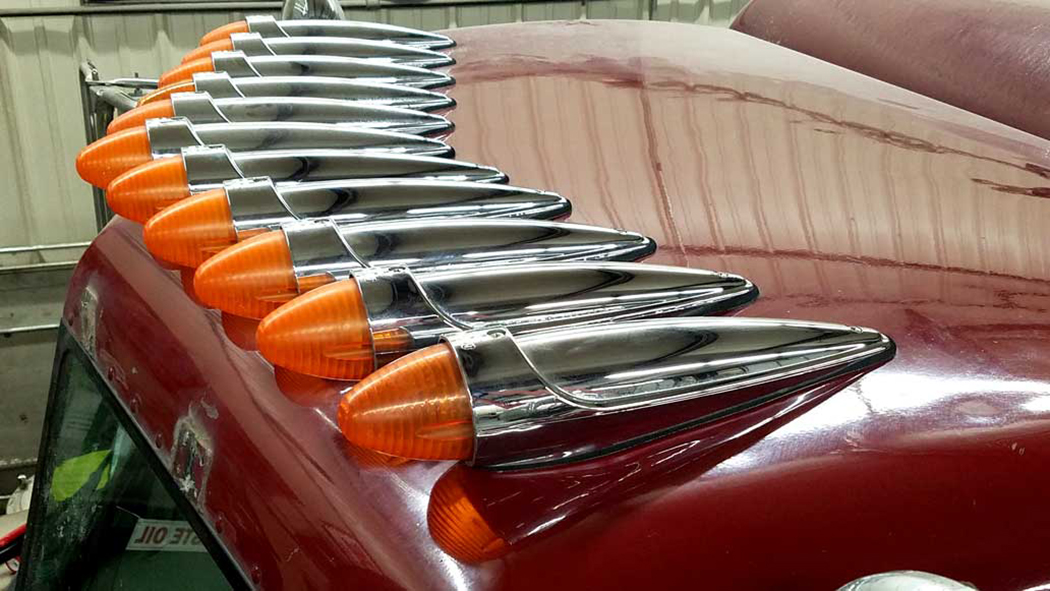
Grakon 1000 stock cab light upgrade to glass lens and 1156 LED light bulb.
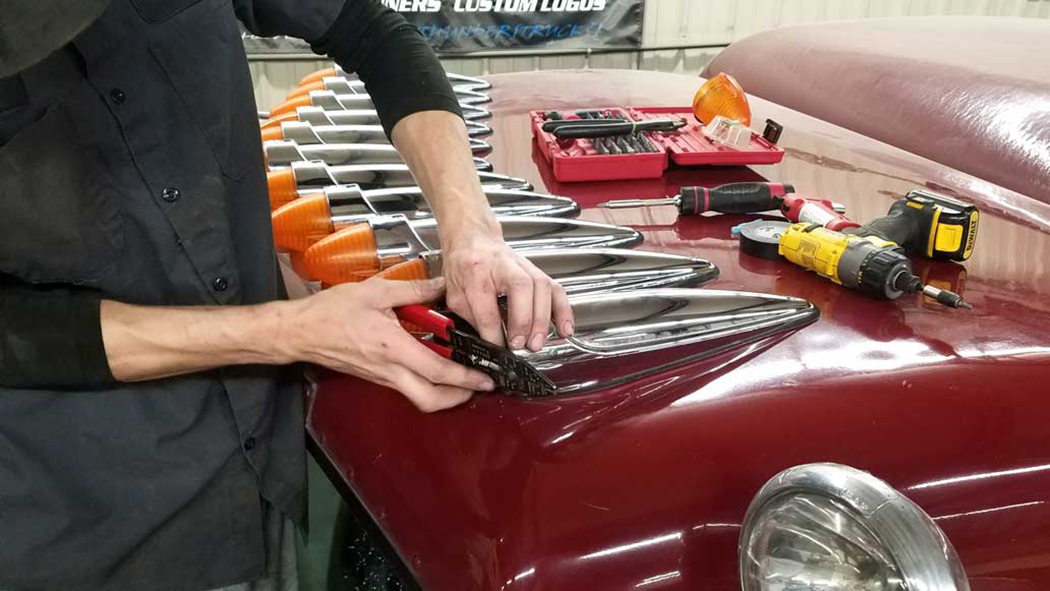
2. REMOVING CAB LIGHT LENS
Remove the 2 screws that hold the cab light lens and remove the lens.
3. POWER & GROUND WIRE
Pull out the original light and base, and then cut the power and ground wire from it. Set out of the way or discard the original light and base.
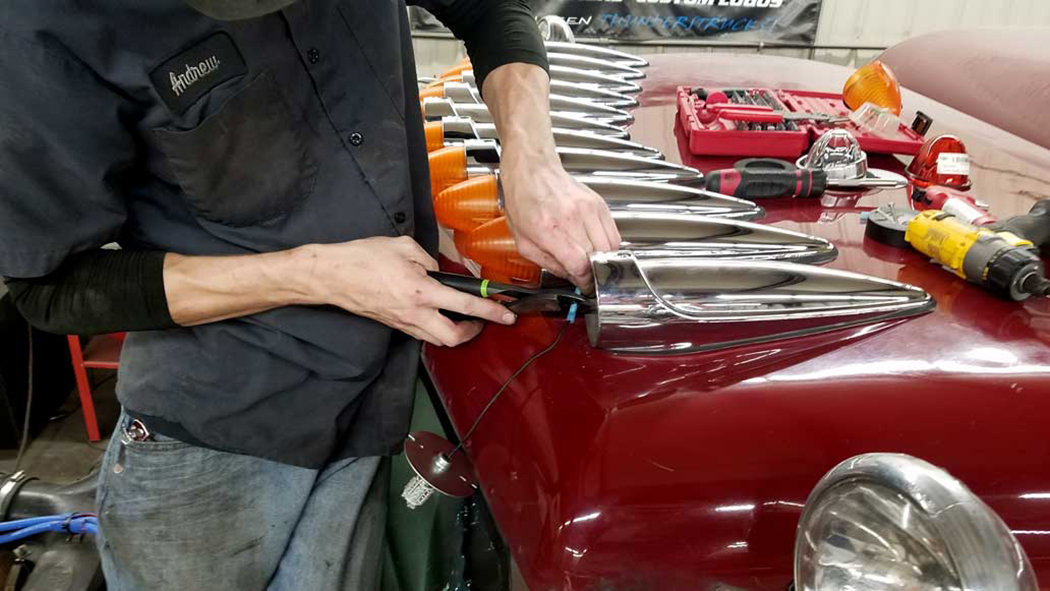
4. WIRE LENGTH
Be sure to leave the wires long enough in the cab light housing to work with easily.
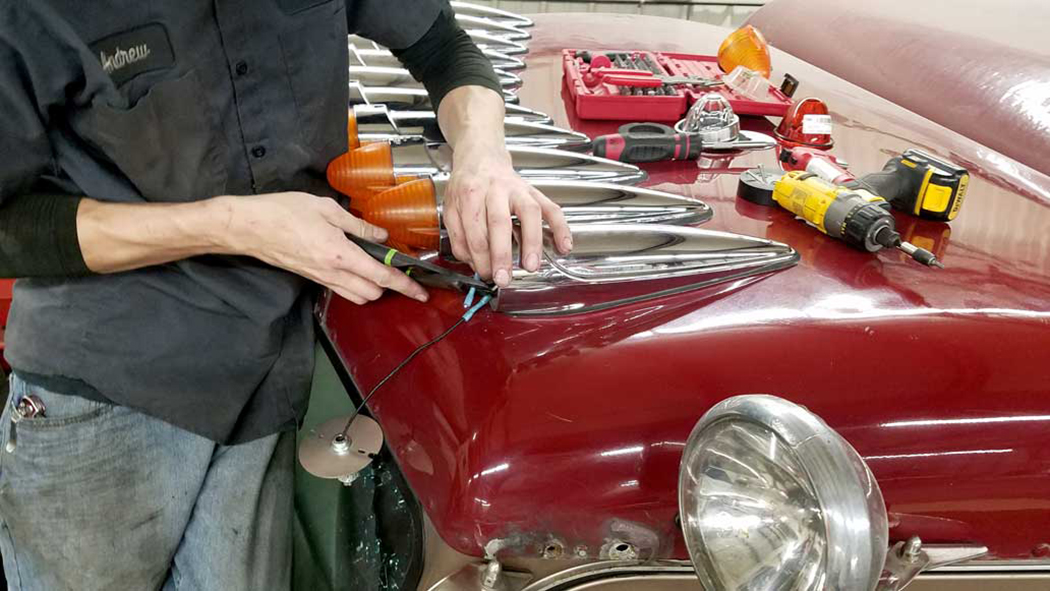
5. STRIP ENDS FOR INSTALL
Strip the end of the wires, so you can install the wire connectors.
6. CRIMP ON THE CONNECTORS
Crimp on the connectors to the end of the wires. Always use a good-quality connector with heat shrink to make your conversion trouble-free.
7. CONNECTING THE POWER WIRE
Connect the adapter’s power wire to the connector’s power wire. There is no ground wire, so add a small wire and connector. Add an eye terminal to wire end and then secure light bulb-base adapter.
8. O-RING INSERT
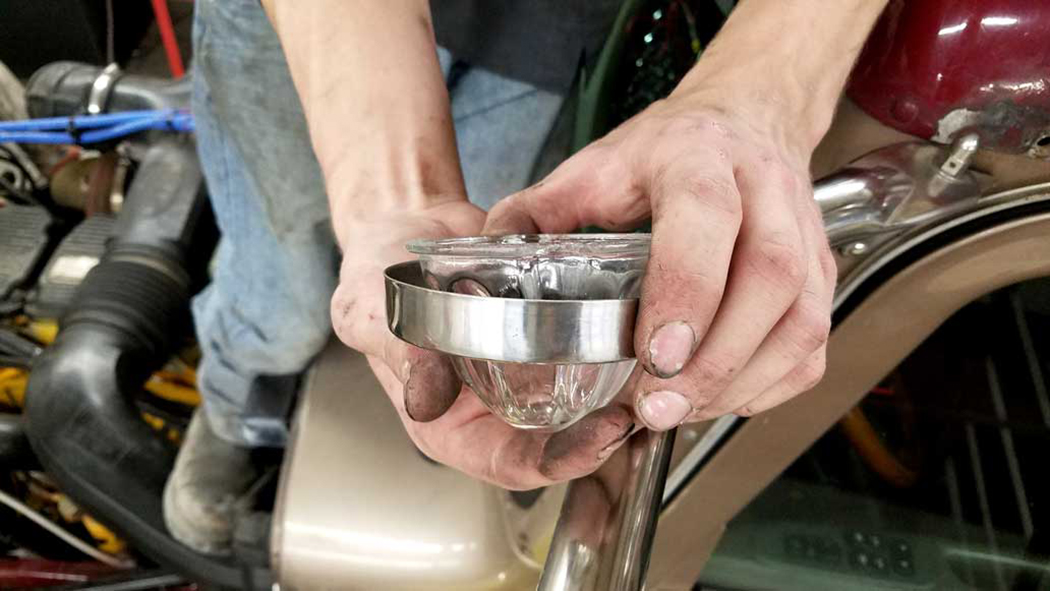
There is a LOT of confusion as to where the O-ring and gasket should be placed. Mystery solved – here you go! Take the stainless-steel light bezel and insert the supplied black O-ring as pictured.
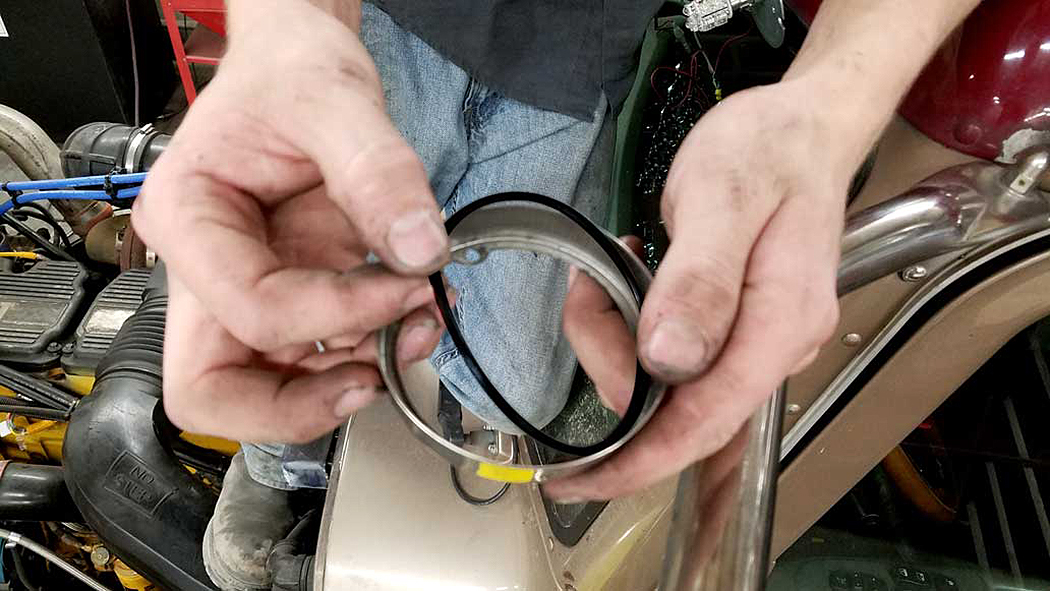
9. CAB LIGHT LENS INSERT
Next, slide the glass cab light lens into the bezel. The O-ring should be positioned between the bezel and the glass lens.
10. FOAM GASKET INSERT
Next, slide the foam gasket into the back of the bezel against the base of the glass lens.
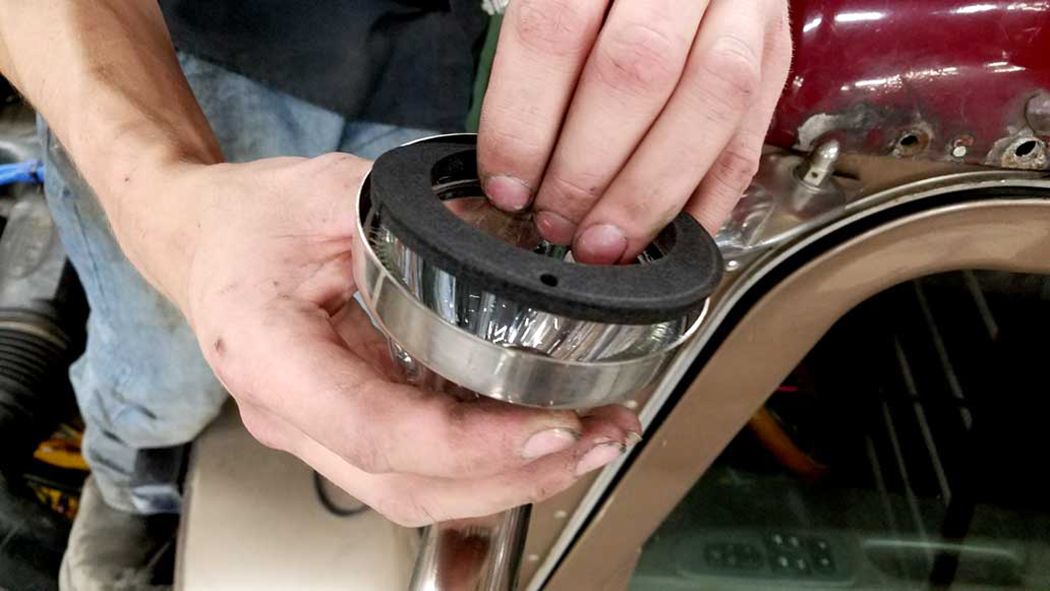
11. INSTALLING LED BULB
Install the 1156 LED bulb into the light base-bulb adapter. Slide the light base-bulb adapter with bulb installed to the back of the bezel-glass lens assembly. Line up the 2 mounting screw holes in the bezel, and insert the 2 long screws into the lens-base assembly.
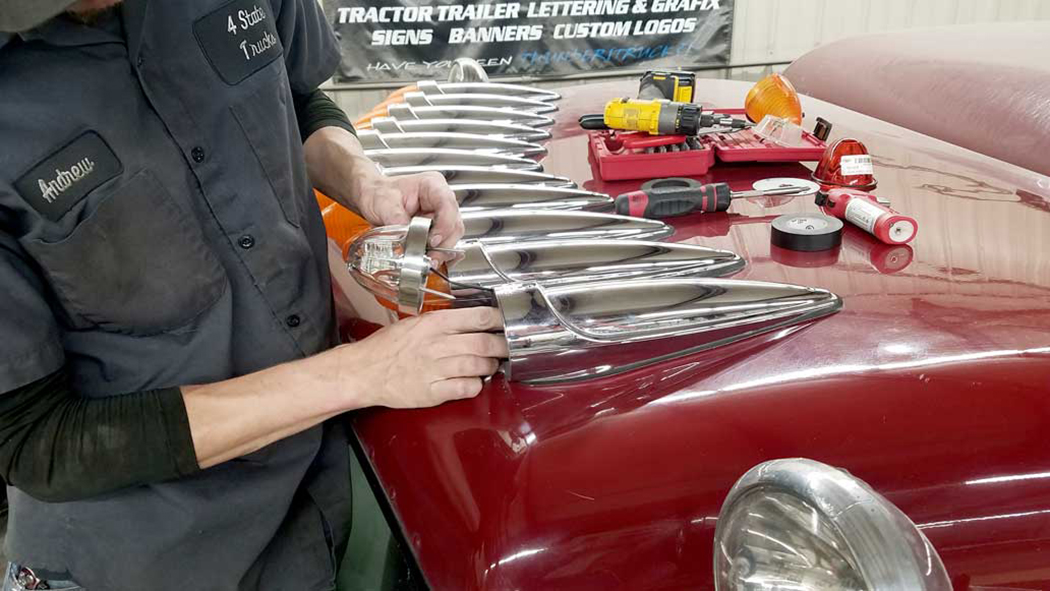
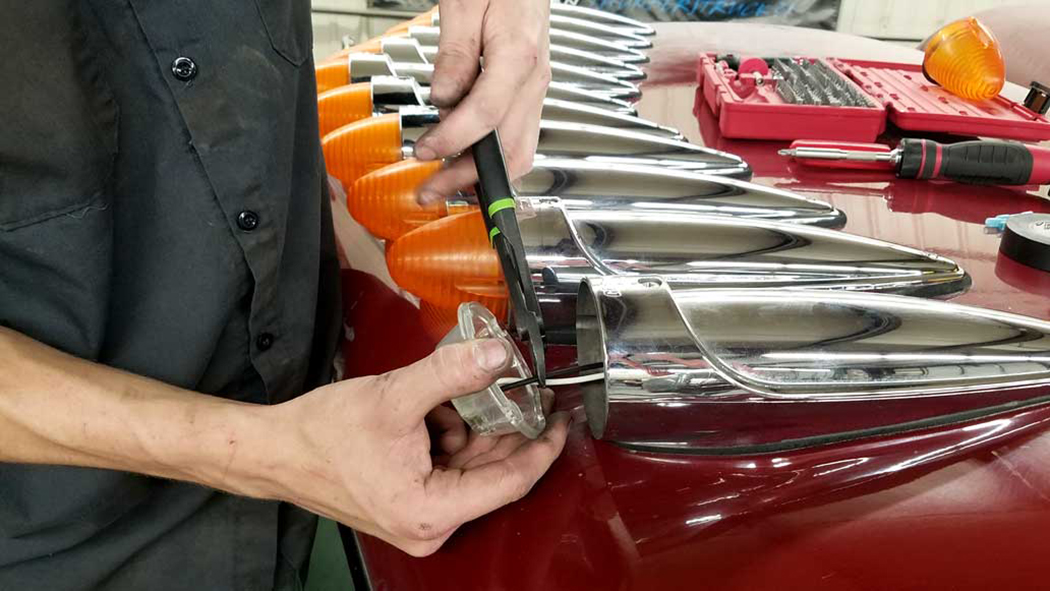
12. ATTACH ASSEMBLY TO HOUSING
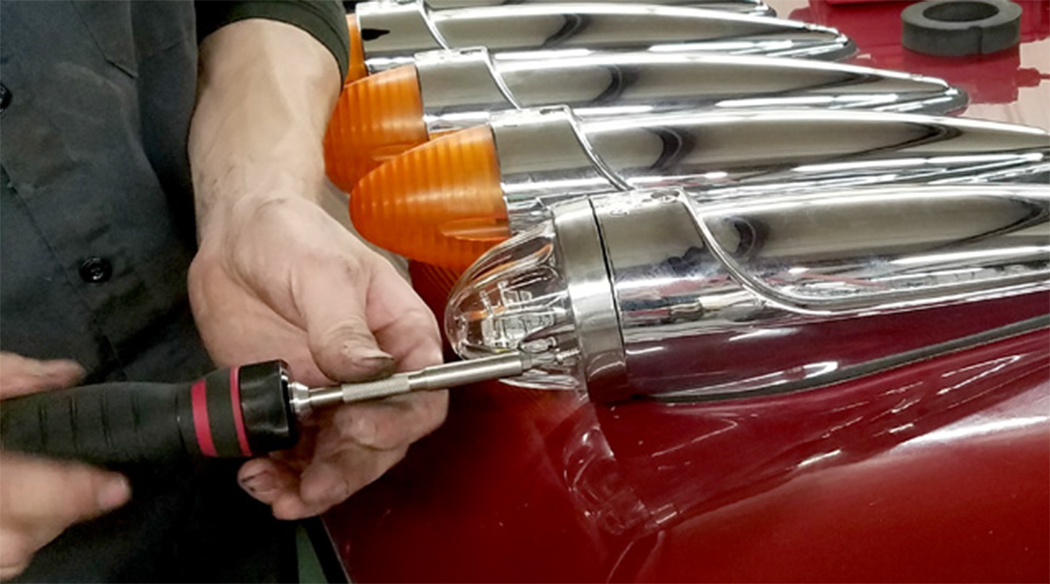
Slide the assembly onto the front of the cab light housing while making sure to line up the 2 mounting screws with the 2 screw holes in the cab light housing. Push the excess wiring inside housing. Start the screws.
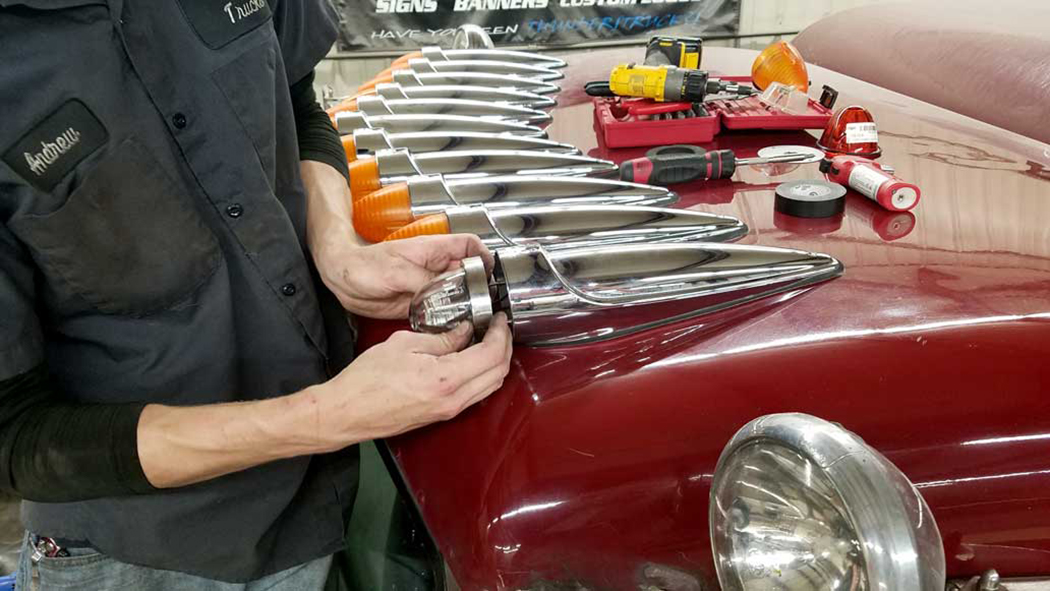
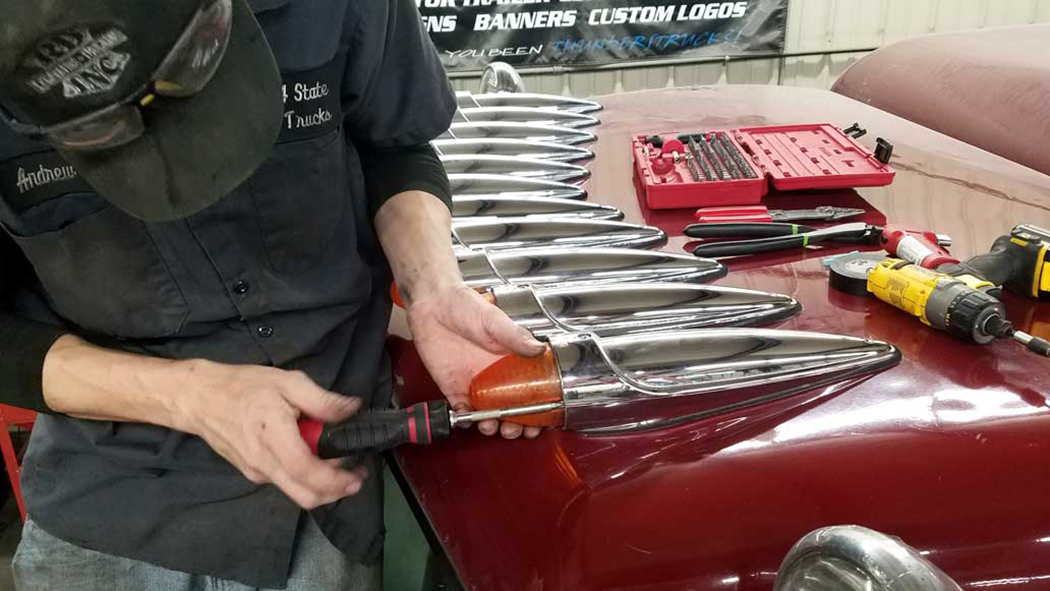
13. TIGHTEN IT ALL UP
Tighten up the mounting screws evenly and pull the light assembly snug against the cab light housing. The bezel will go over the outside of the cab light housing and make a nice smooth transition to the lens.
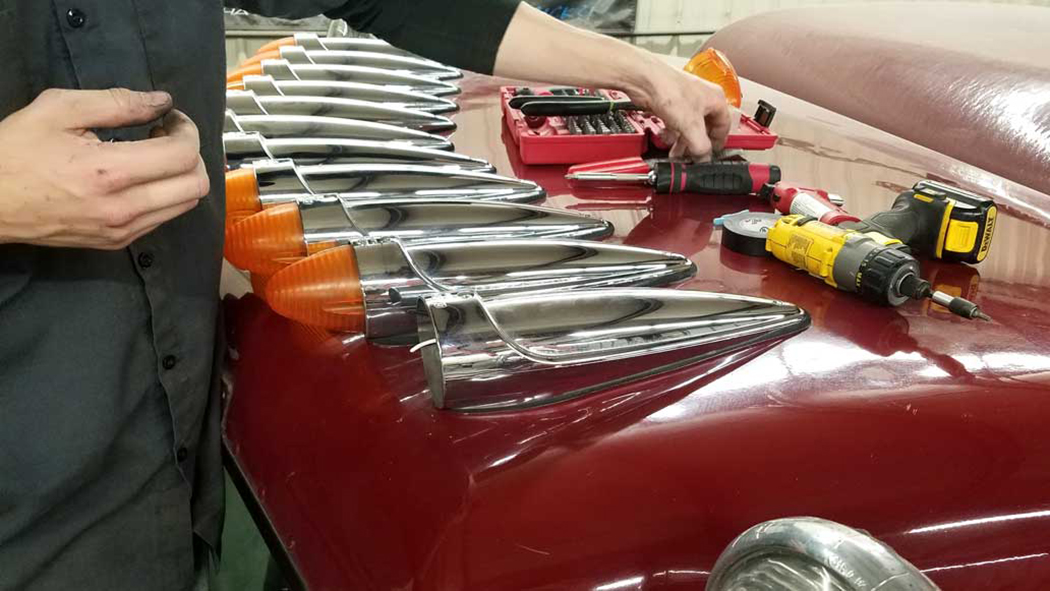
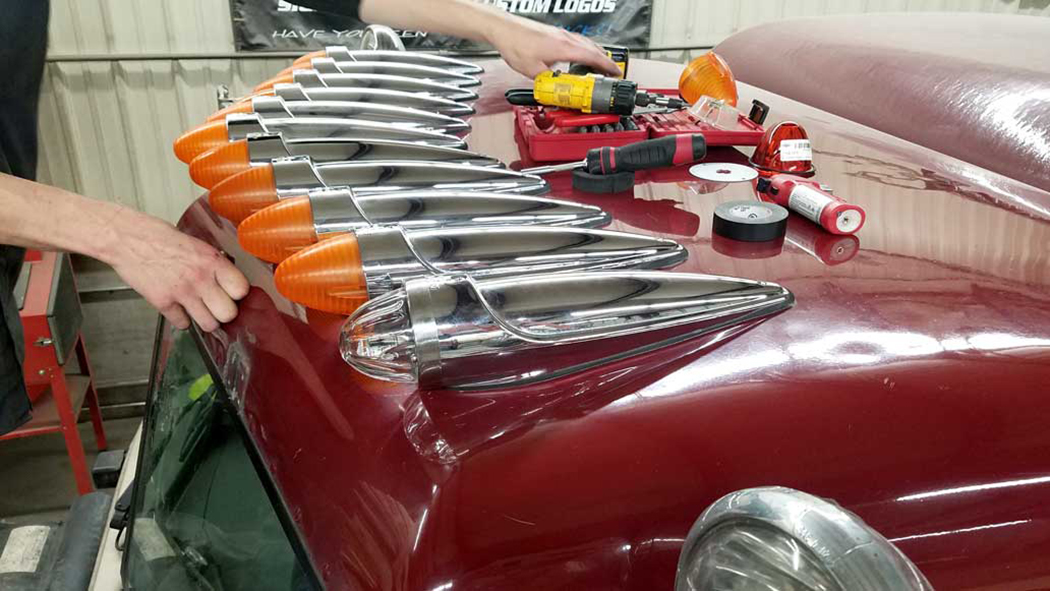
14. FINISHED PRODUCT
Here is the first finished product – now, only 10 more lights to go!
Check out more cab lights for your big rig at www.4statetrucks.com – Home of the Chrome Shop Mafia.
1 Comment
I’m looking for the the stainless steel ring that fit the grakon 1000 clearance light