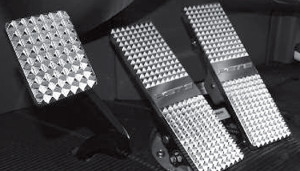
Out with the boring factory pedals, and in with the custom pedals! It’s true, the not-so-stylish rubber coated accelerator, brake and clutch pedals that your truck was born with, don’t offer much flair. These days there are cool custom pedals available for many models of Peterbilt, Kenworth and Freightliner, and the installation is quick and easy. This month’s “How To” article will illustrate and highlight the installation of billet foot pedals from RealWheels Corporation (RWC) for a Pete 379, 386 or 389 (part #01-1511037).
GAS PEDAL
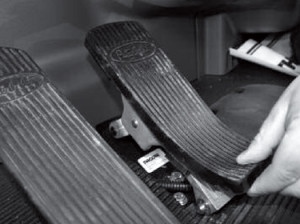
STEP 1: Starting with the gas pedal, pull the bottom edge of the rubber overlay away from the metal base.
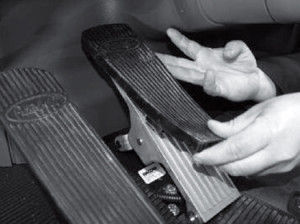
STEP 2: Using your fingers, slide and loosen the rubber overlay until it comes completely off.
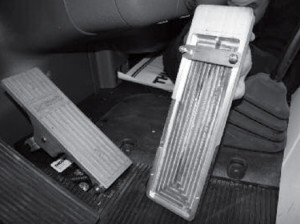
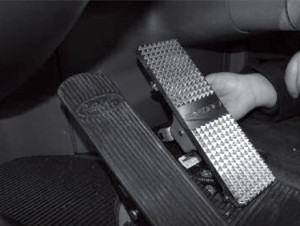
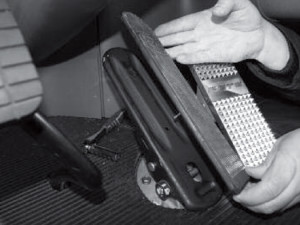
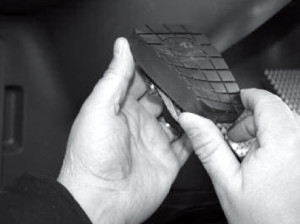
STEP 3: The Billet Gas Pedal has a recessed back and a loosely attached cross-bracket.
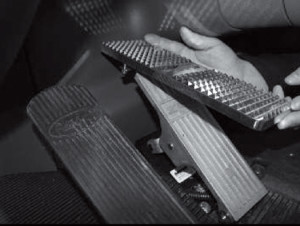
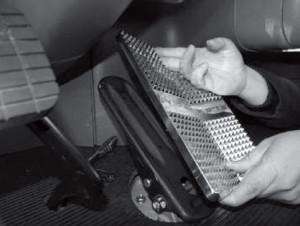
STEP 4: Position the billet gas pedal over the metal base pedal with the cross-bracket sliding behind the metal base pedal.
STEP 5: It is important to ensure that the metal base pedal is completely positioned into the recessed area in the back of the billet gas pedal.
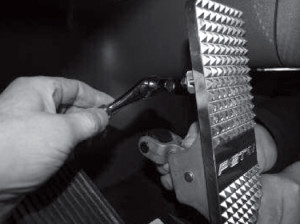
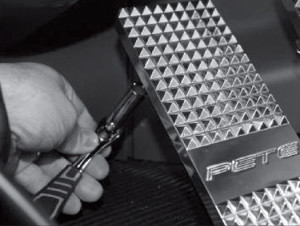
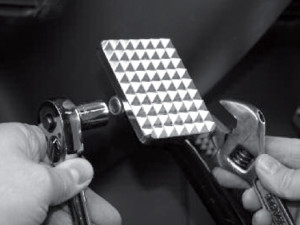
STEP 6: Using a 3/8-inch socket and wrench, securely tighten the two nuts on the cross-bracket.
BRAKE PEDAL
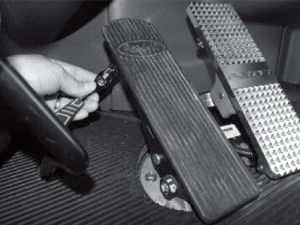
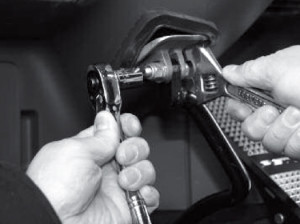
STEP 7: The rubber overlay of the brake pedal is held on by two nuts in the back of the metal base pedal. Using a 3/8-inch socket and wrench, remove the nut at the top of the pedal.
STEP 8: Remove the nut at the center of the pedal.
STEP 9: Once the nuts are removed, lift the rubber overlay of the brake pedal off of the metal base pedal.
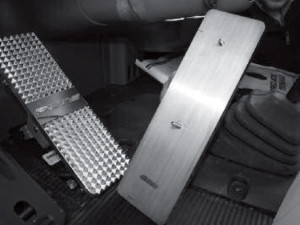
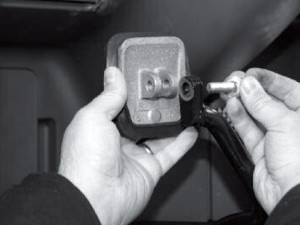
STEP 10: The back of the billet brake pedal has two threaded posts.
STEP 11: Align the two threaded posts over the holes in the metal base pedal and set in place.
STEP 12: Thread the two new nuts onto the threaded posts using a 3/8-inch socket and wrench. Securely tighten the two nuts to the metal base pedal.
CLUTCH PEDAL
STEP 13: Lift off the lower portion of the rubber overlay to gain clear access to the nut and bolt that secures the clutch pedal to the arm.
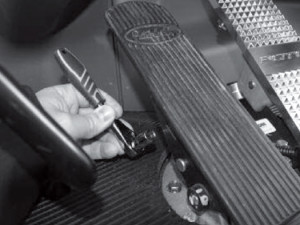
STEP 14: Using a 9/16-inch socket and wrench, loosen and remove the nut.
STEP 15: Pull out the bolt and remove the metal clutch pedal. Note: Keep the nut, bolt and washers, as they will be used for the new pedal.
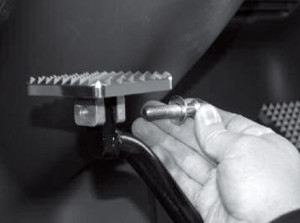
STEP 16: Position the billet clutch pedal over the hole in the clutch arm. Re-insert the bolt and washers through the holes.
STEP 17: Thread the nut and washer back onto bolt and securely tighten using a 9/16-inch socket and wrench.
STEP 18: Before driving, double-check that all the pedals are properly and securely installed. Test pedal action and movement to ensure normal function. Once you have determined everything is secure and installed correctly, enjoy your cool new pedals!
Check out more parts for your big rig at www.4statetrucks.com, home of the Chrome Shop Mafia!!

1 Comment
I would like to a set of those pedals for my 98 379 where coud I locate a set