Most of us would agree that the general appearance of the shocks and airbags on the back of any Peterbilt sleeper looks kinda cluttered up. There are a host of different styles of shock box covers, and they are available in shiny stainless steel or paintable aluminum. So, for any weekend mechanic or truck owner, these shock box covers make for an easy install!
STEP 1
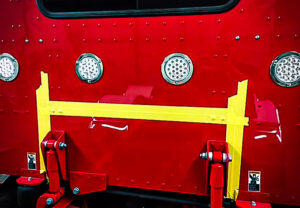
Apply a couple strips of masking tape to the rear of the sleeper where the shock box will be installed. This will be used as a surface to mark on, without having to mark onto your truck.
STEP 2
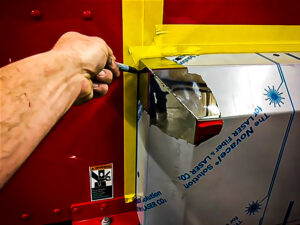
Take the shock box cover and lean it up against back of sleeper where it’s going to mount and draw a line around it onto the masking tape. Then, set the shock box cover aside.
STEP 3
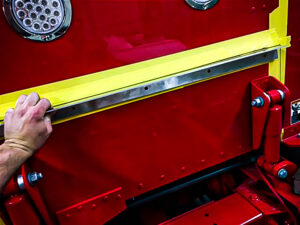
Taking the top mounting bracket, set it just below the line and mark holes to drill into the back of the sleeper. Repeat this process with the side brackets, as well.
STEP 4
Once the holes are marked, drill out each one with a 13/32 drill bit, and then install 1/4 nutserts into each hole.

STEP 5
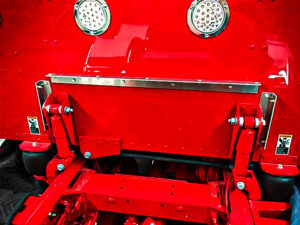
Once all nutserts have been installed, remove the masking tape and install all 3 brackets with 1/4” bolts and tighten them down into place.
STEP 6
Finally, install the shock box cover into place, install the truss head bolts, and then wipe the box clean. Installing lights into the shock box cover are optional and are available in a multitude of configurations.
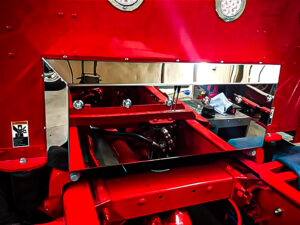
NOTE: The product being installed here is 01-101107. Check out more shock box covers for your big rig at www.4statetrucks.com – Home of the Chrome Shop Mafia!
