

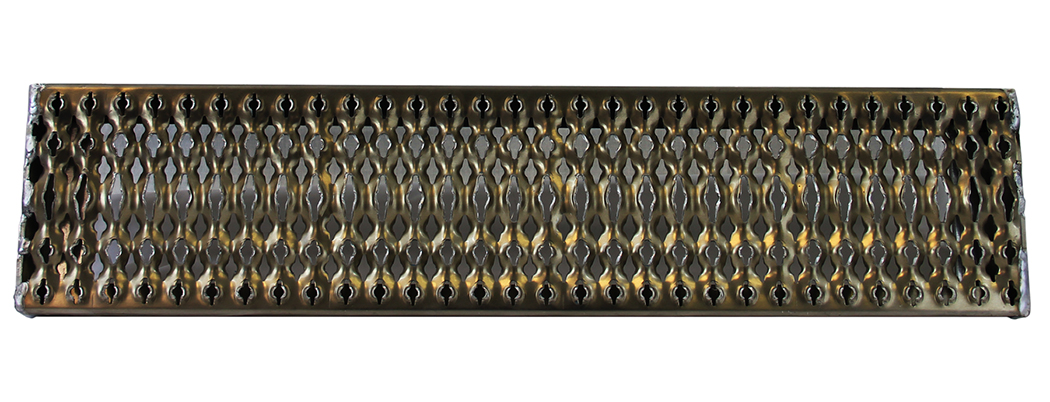
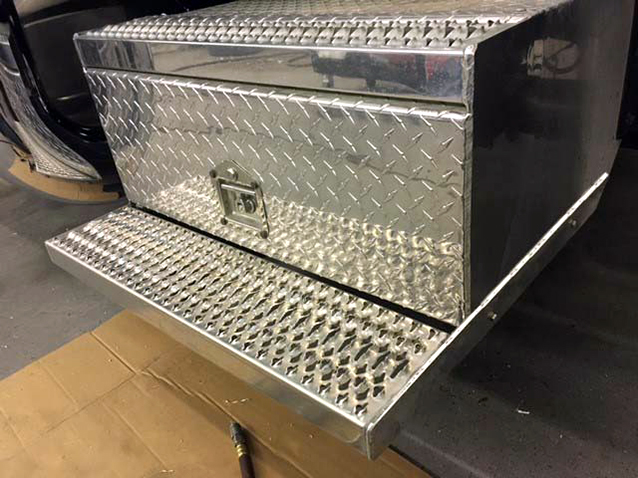
How many Peterbilts do we see on any given day that have bent, cracked, or damaged steps? Whether the damage was from hitting a curb, a pole, or from metal fatigue, it is not a good feeling when you think about buying a new box assembly from the dealership for $1,200! Here at 4 State Trucks we offer two products that allow you to “save” your box and make a simple and quick replacement of the lower step portion only. Be advised, we offer both of these repair steps in two versions: New Style Grip Step (roughly 2004 and newer) and Old Style Grip Step (roughly 2003 and older). For today’s photography, we are featuring the New Style Grip Step. So, here we go!
STEP 1
Before the damaged step can be replaced, you must inspect the damage to determine if you need to replace just the step or if you need to replace both the brackets and the step. Once a decision has been made, we carry both options here at 4 State Trucks – just the step (01-0505001) or the step with built on brackets (01-0505002).
IF REPLACING THE STEP ONLY…
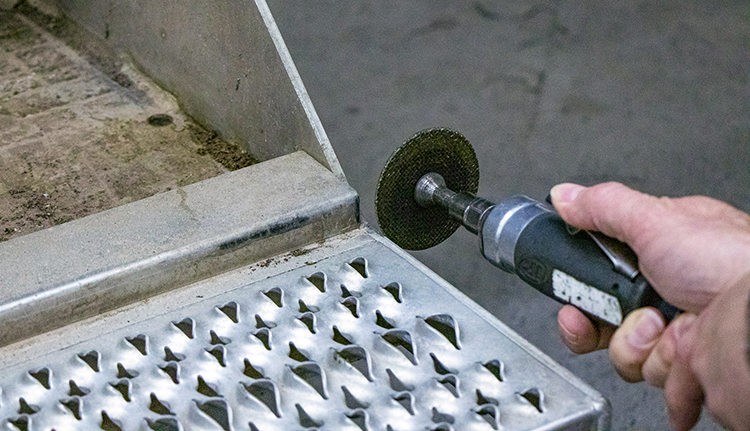
STEP 2A
Use a die grinder to cut through the welds on the front and rear of the step, leaving the brackets in place.


STEP 3A
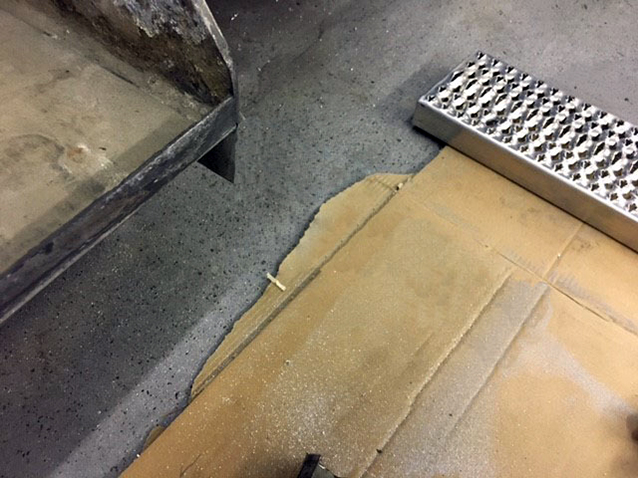
Measure and mark your holes then drill (2) 1/2” holes into both brackets. Then, after setting your step in place, mark and drill the holes in each end of the step.
STEP 4A
Finish by installing 1/2” bolts into holes and wiping down. Now, you have successfully replaced a damage step. Happy (and safe) stepping!!

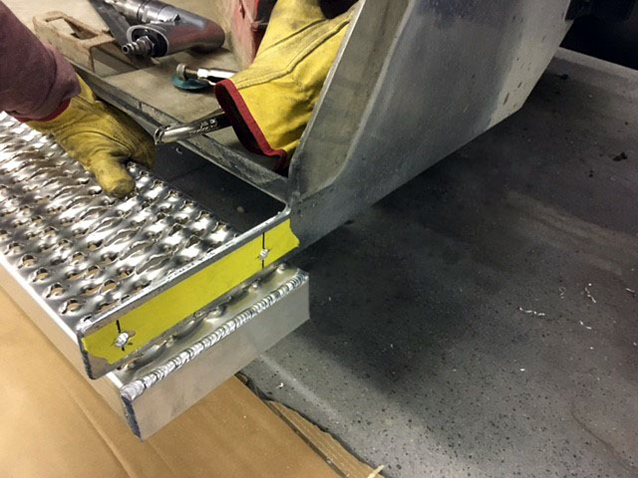
IF REPLACING THE STEP AND BRACKET…
STEP 2B

Use a die grinder to cut the step and brackets off even with the front of the box.
STEP 3B
Measure and mark your holes then drill (2) 1/2” holes into the box. Then, after setting your step in place, mark and drill the holes in each end of the built on brackets.

STEP 4B
Finish by installing 1/2” bolts into holes and wiping down. Now, you have successfully replaced a damage step. Happy (and safe) stepping!!
Check out more steps and step accessories for your big rig at www.4statetrucks.com – Home of the Chrome Shop Mafia!