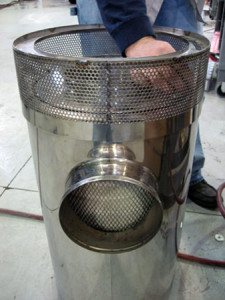
STEP 1: Remove the bolts that hold the bands to the cab bracket and loosen the clamp around the rubber outlet boot. Carefully remove the filter assembly from the cab.
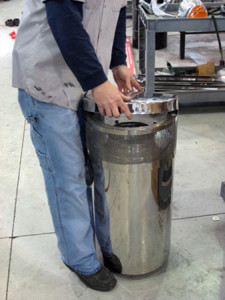
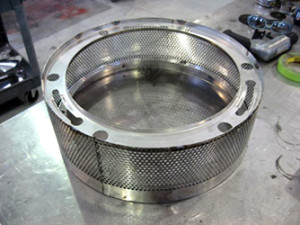
STEP 2: Twist the cap off the filter assembly. Remove the 4 inner nuts to remove the screen assembly and then place the screen on a sturdy work surface/bench.
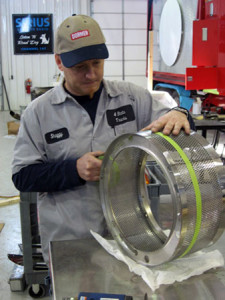
STEP 3: Measure desired height down from the top of the screen and then mark it (we are removing 2 inches). Use tape to identify a straight line for cutting the screen.
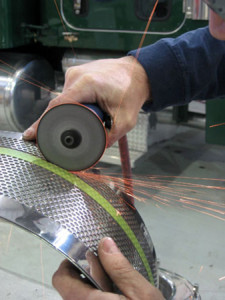
STEP 4: Use a grinder with a cutoff wheel to make the necessary cut (wear eye protection). Also, use grinder to split the screen from the cap’s fastening ring.
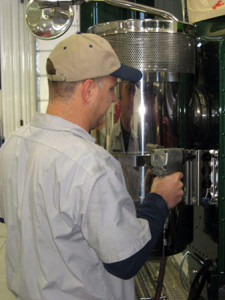
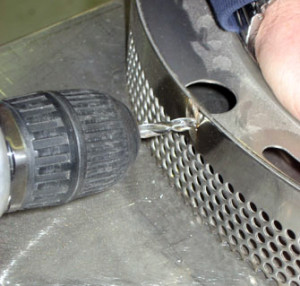
STEP 5: Drill out the spot welds that fasten the screen to the ring.
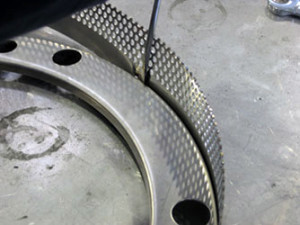
STEP 6: Separate the ring from the screen using a flat-head screwdriver.
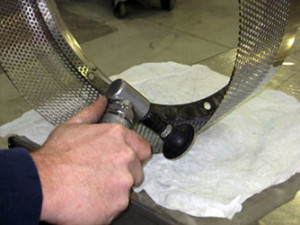
STEP 7: De-burr the edges of the screen and remove any uneven edges.
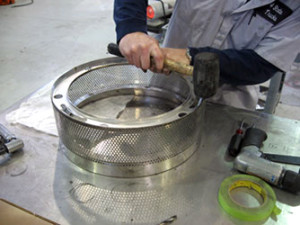
STEP 8: Use a rubber mallet to drive the ring into the shortened screen.
STEP 9: Spot weld the screen back onto the fastening ring (or have your local welding shop do it).
STEP 10: Secure screen to filter body with 4 nuts and then put the cap back on the filter assembly.
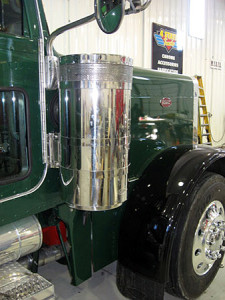
STEP 11: Carefully install them back to the side of the cab the same way they were originally installed.
STEP 12: Step back and check out your work! It looks a lot cooler now, don’t ya think!!

